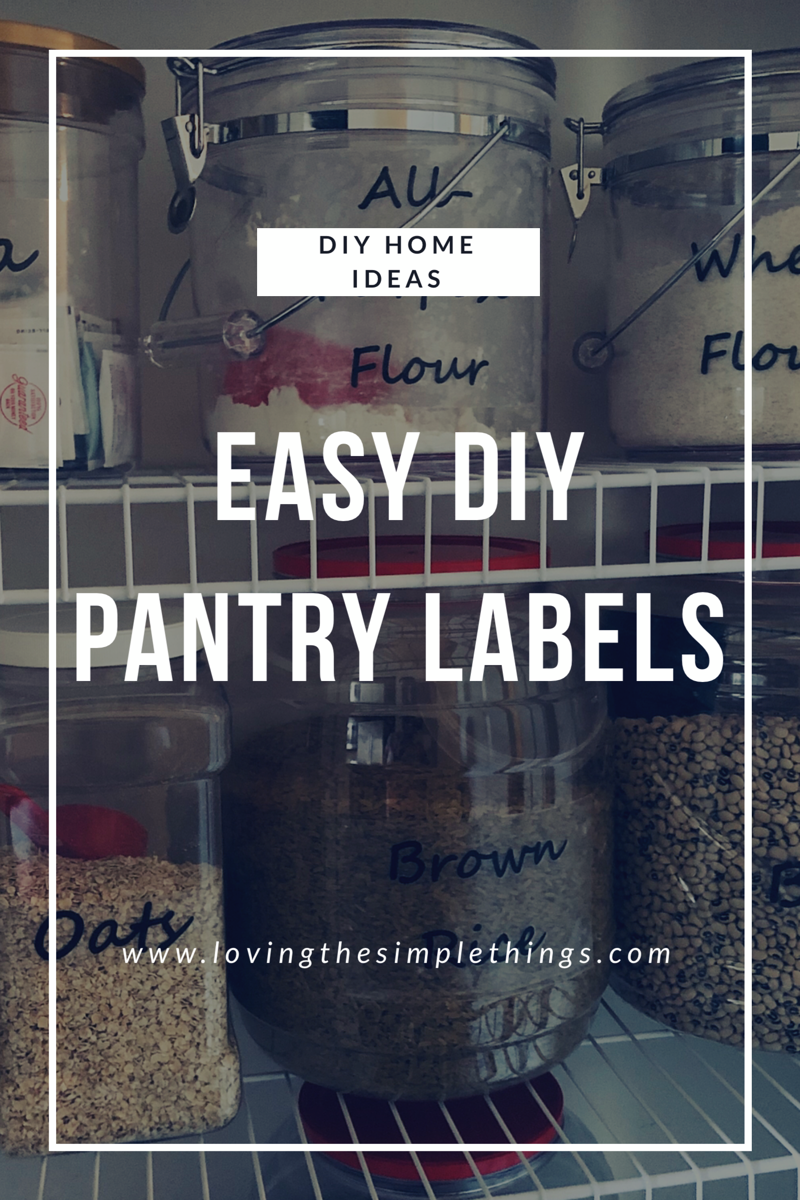
I’ve been eyeing some really cool pantry labels on Pinterest lately and today I have decided to make them.
These labels bring your pantry to another level and makes it super cute. There are so many varieties of pantry labels out there. You can’t go wrong! Etsy has so many budget-friendly options and styles – from custom colorful labels to farmhouse style.
These labels are the easiest thing to make ever! I used clear contact paper I already had on hand and a few sheets of printer paper, and of course a computer and printer.
Here are the steps you should follow to make these pantry labels:
- Use Microsoft Word to make a list of the items you need labels for (sugar, salt, oats) in your preferred font and size
- Print the pages of items (only use a laser printer or a printer that requires a toner, not ink. An inkjet printer will not work because the ink will run when the labels are placed in water)
- Cut out peieces of contact paper and cover each item (See below photo).
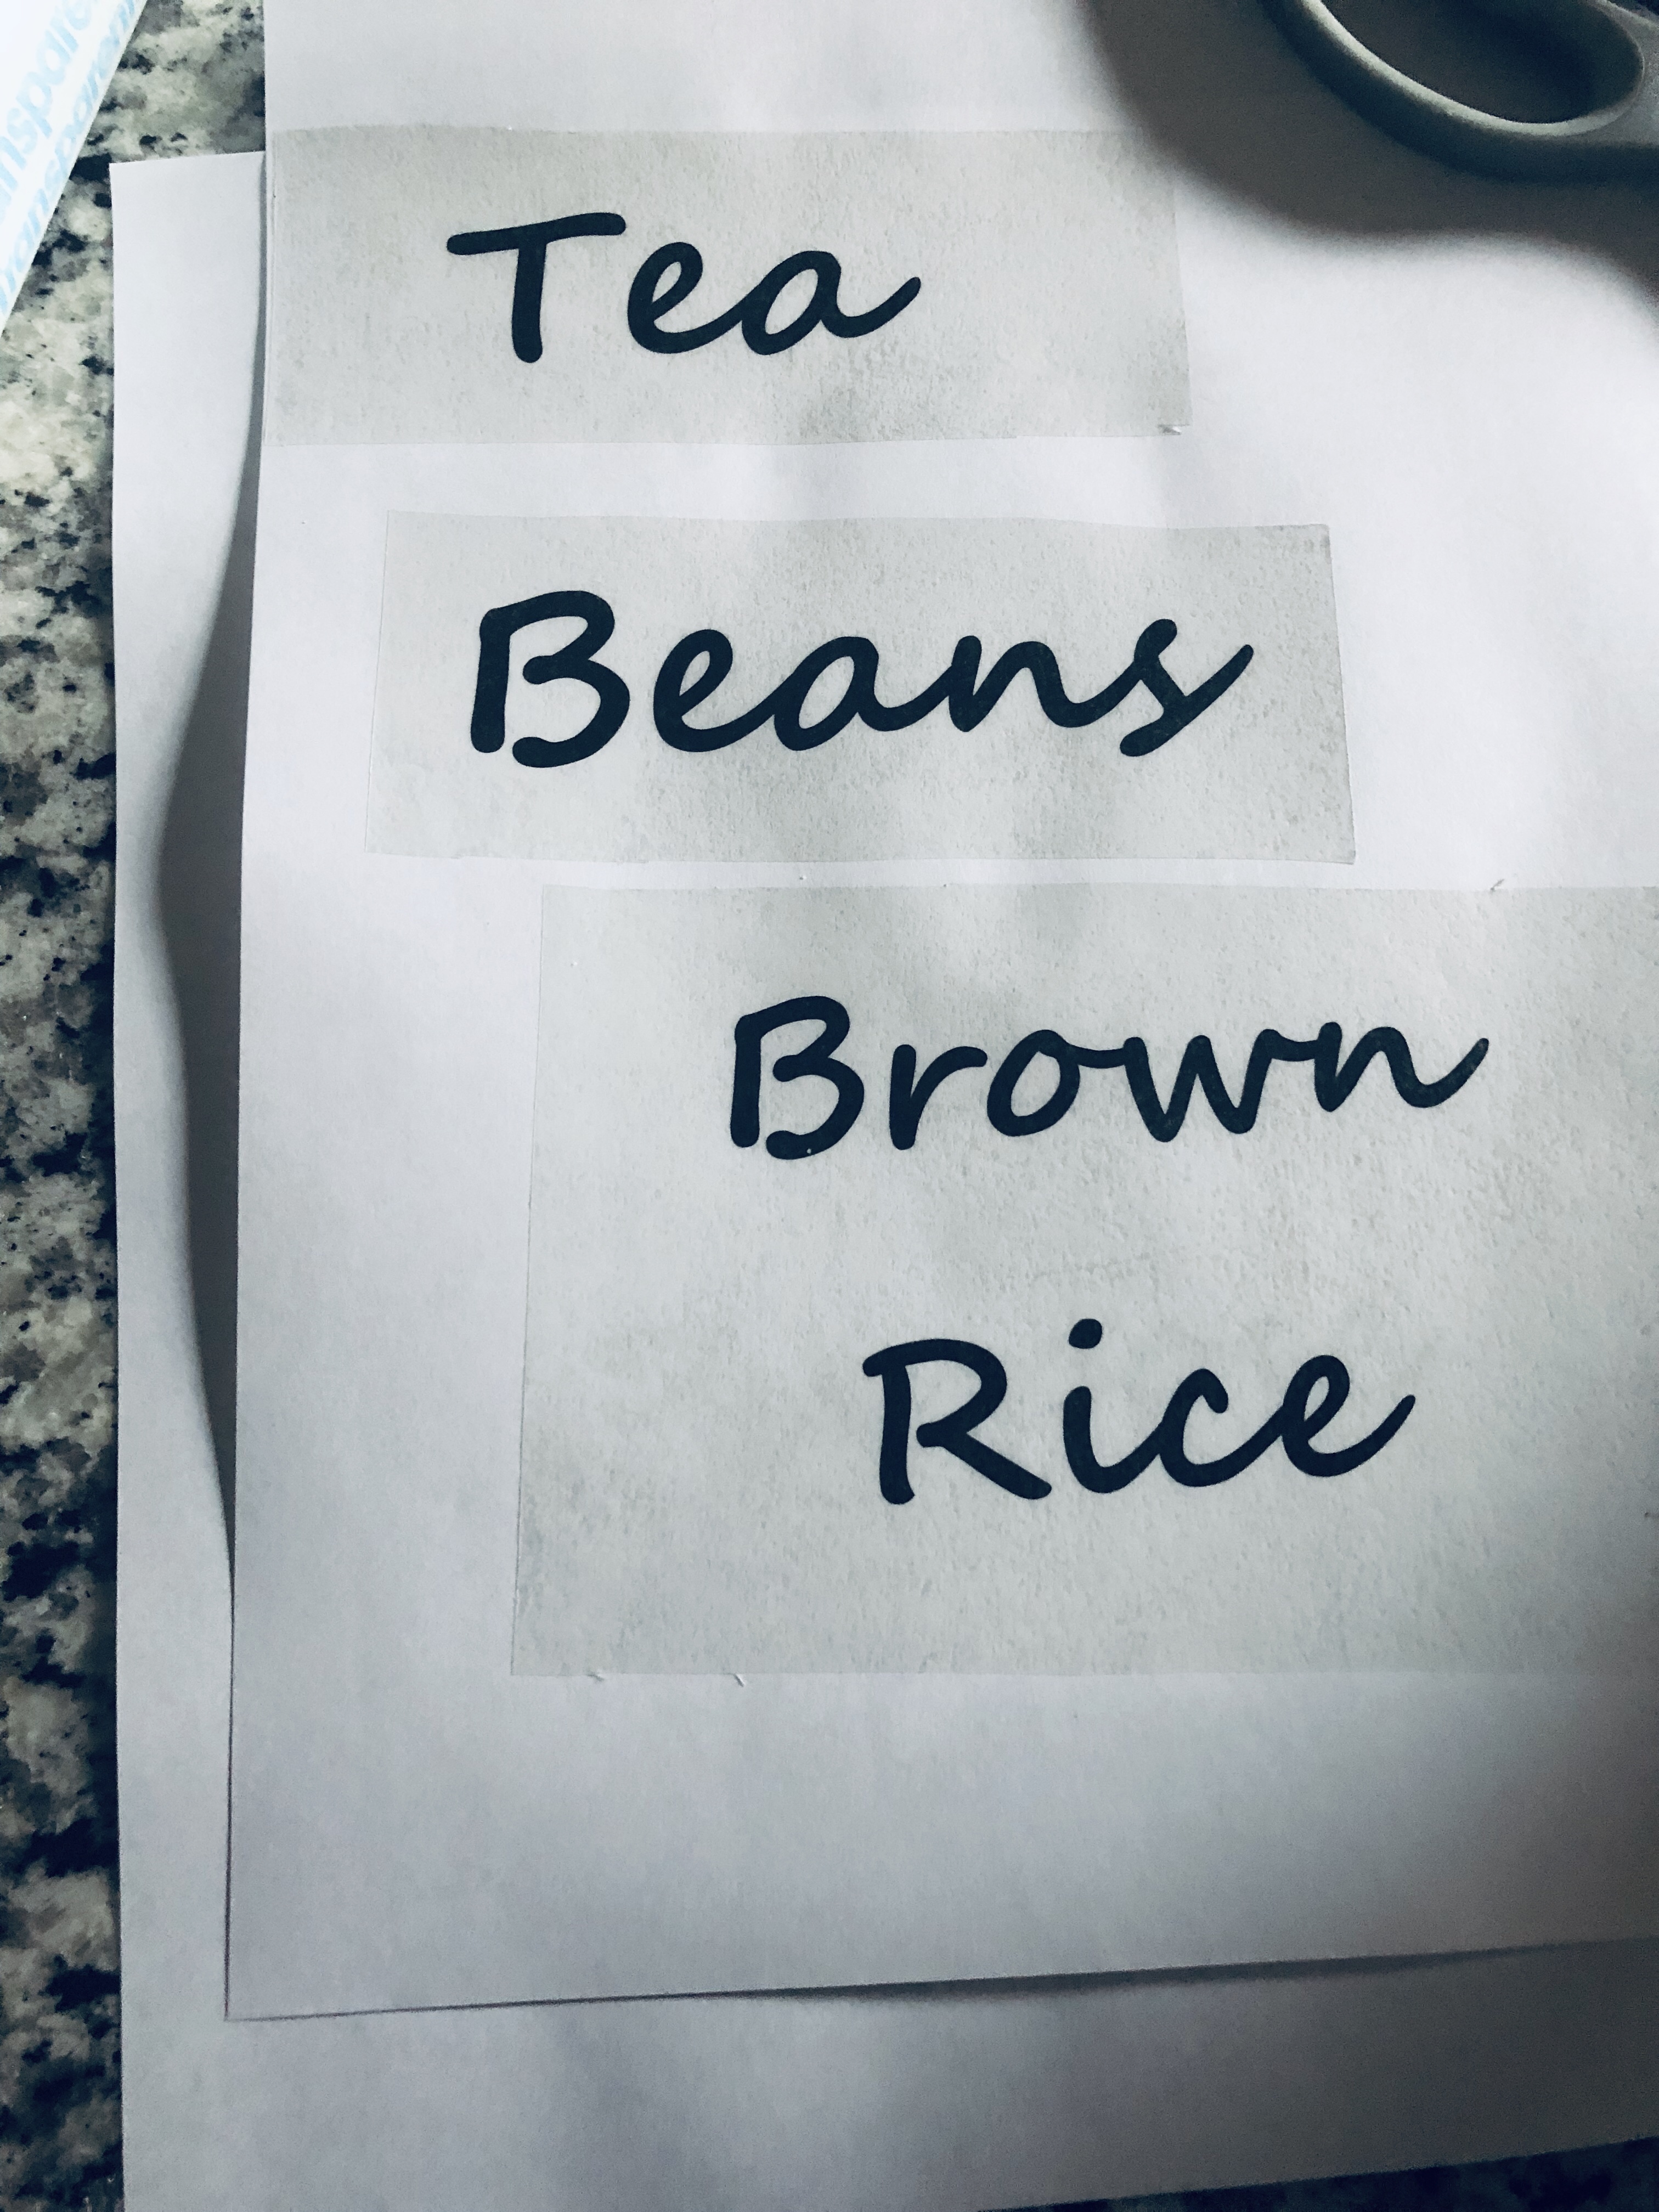
- Use a pair of scissors to cut out the labels ( the paper, now covered with contact paper)
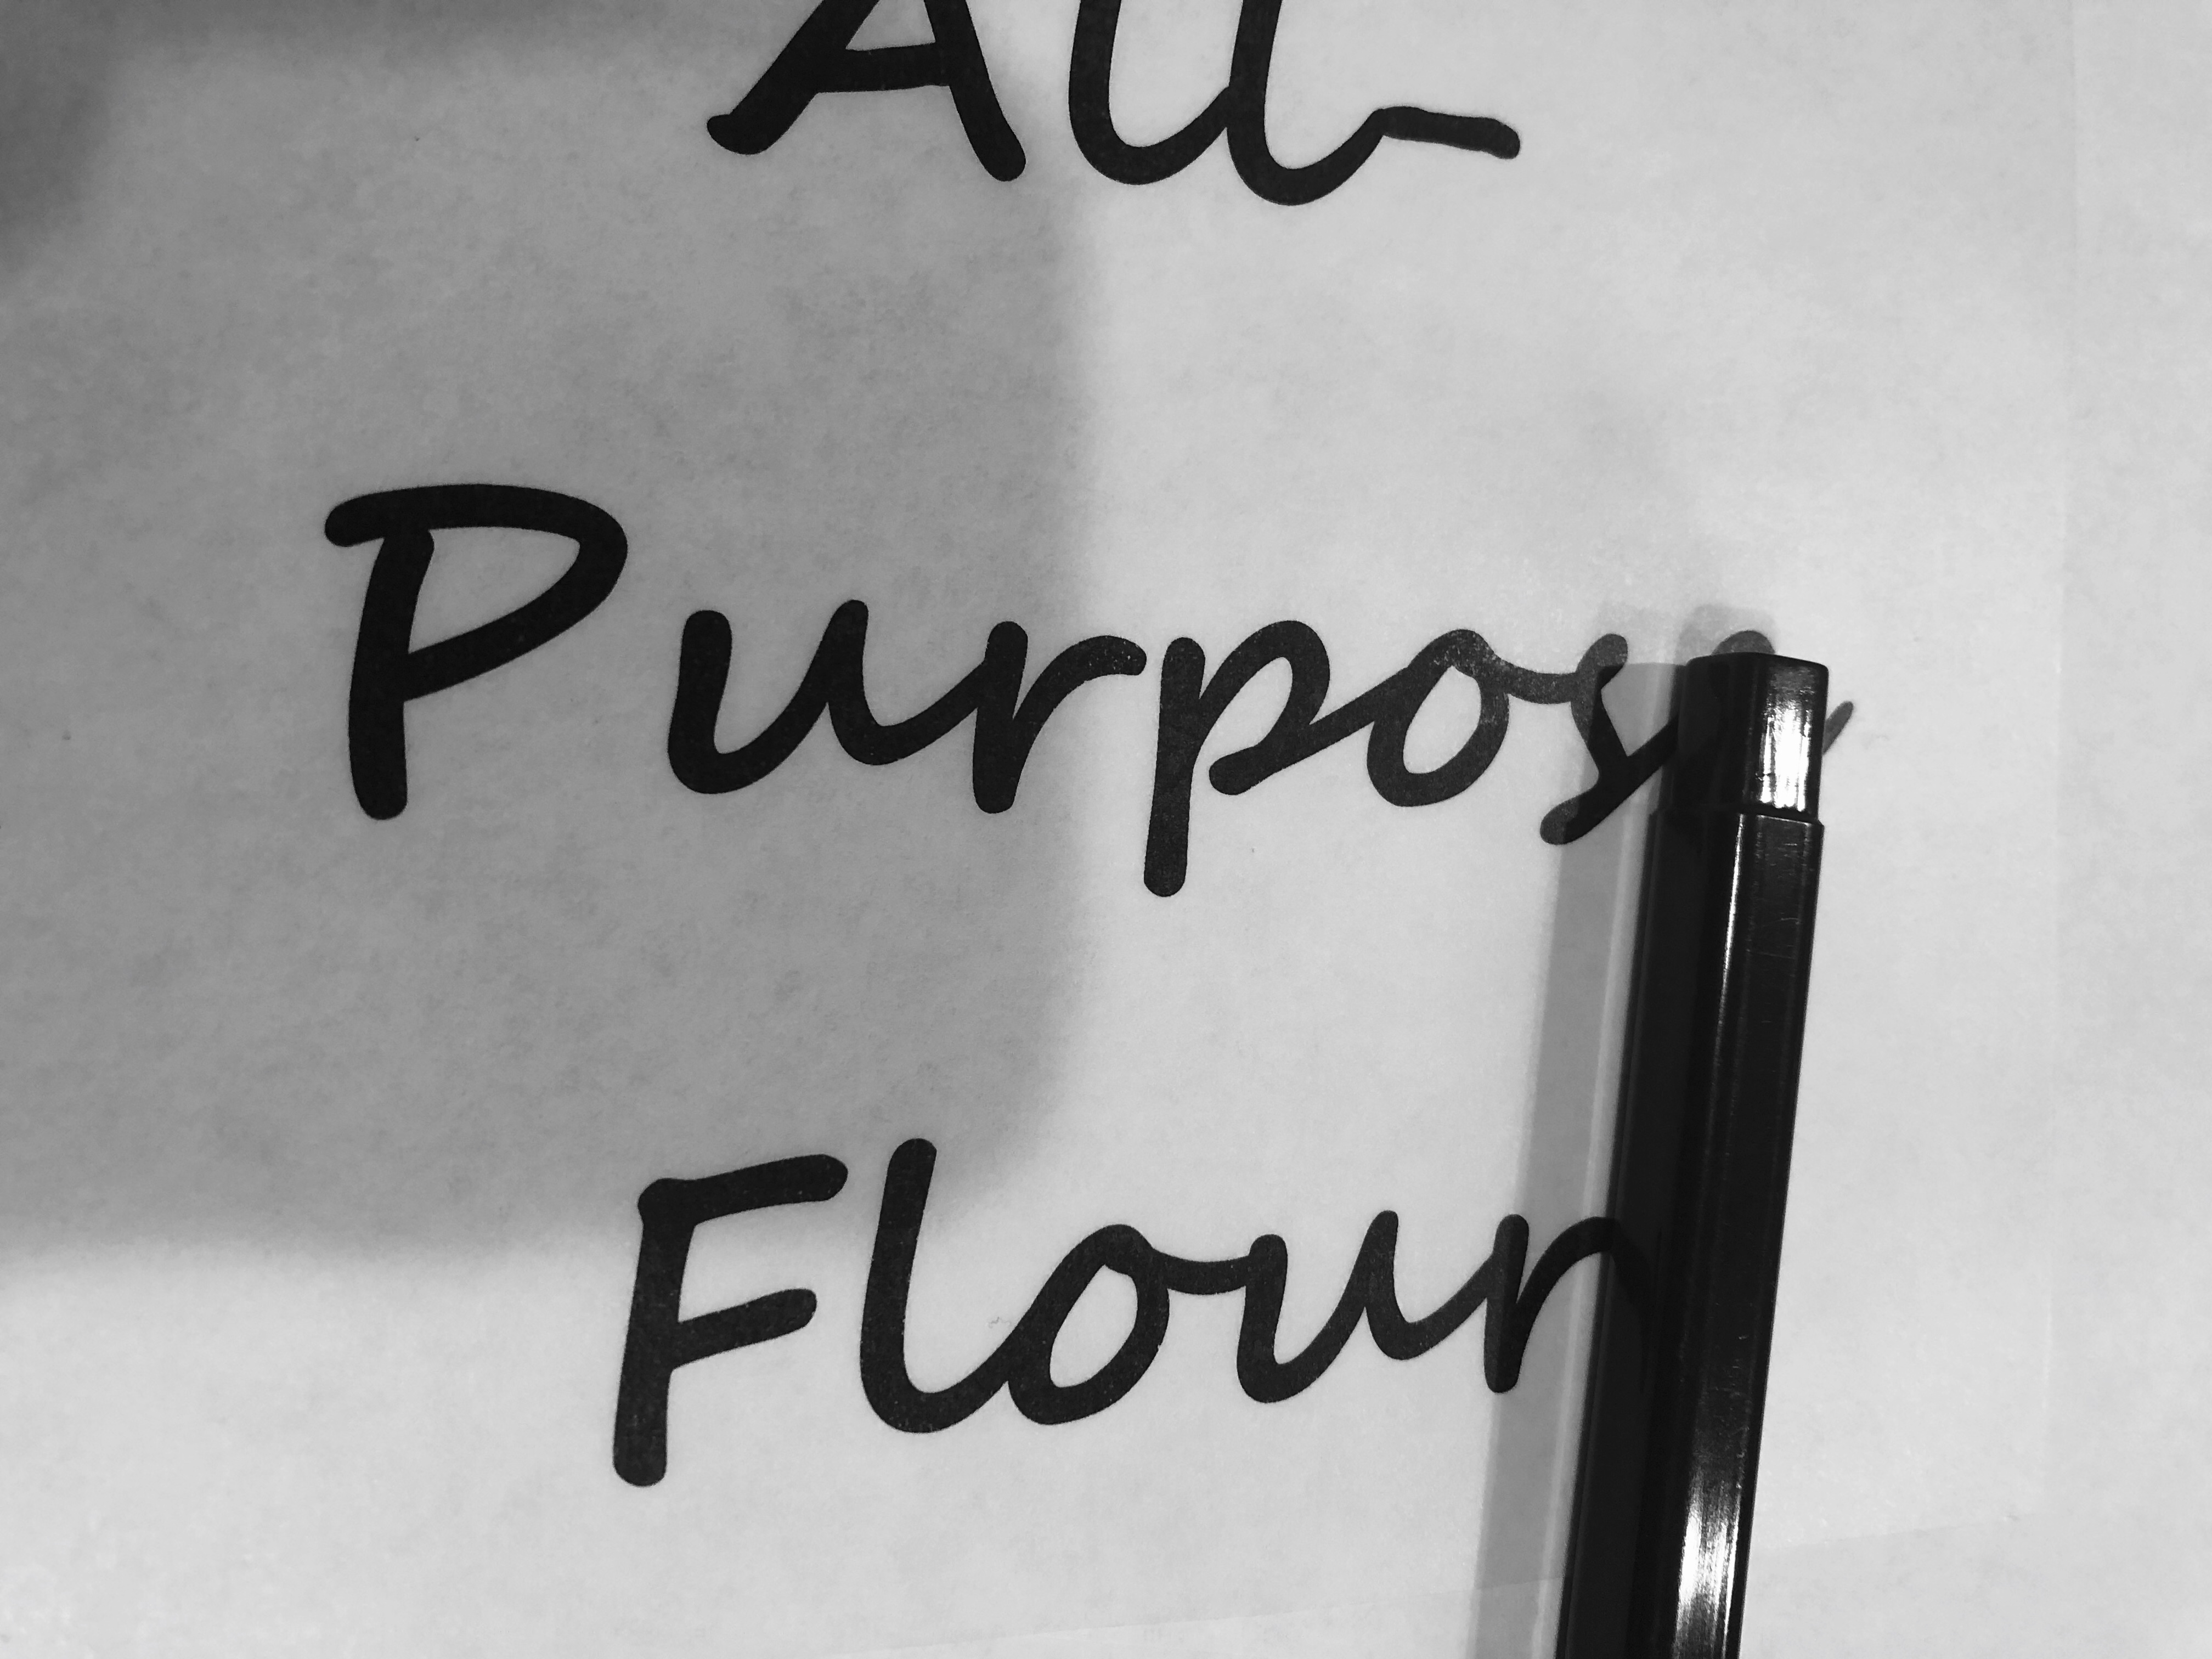
- Firmly press the ink on the paper (to transfer it) onto the contact paper by running a smooth item over the front (contact paper side) of it several (4-5) times. I used a square-ish pen with curved sides. Feel free to use other objects, such as a credit card, a smooth bottom of a cup, etc) that won’t leave marks on the surface of the contact paper. (see picture below)
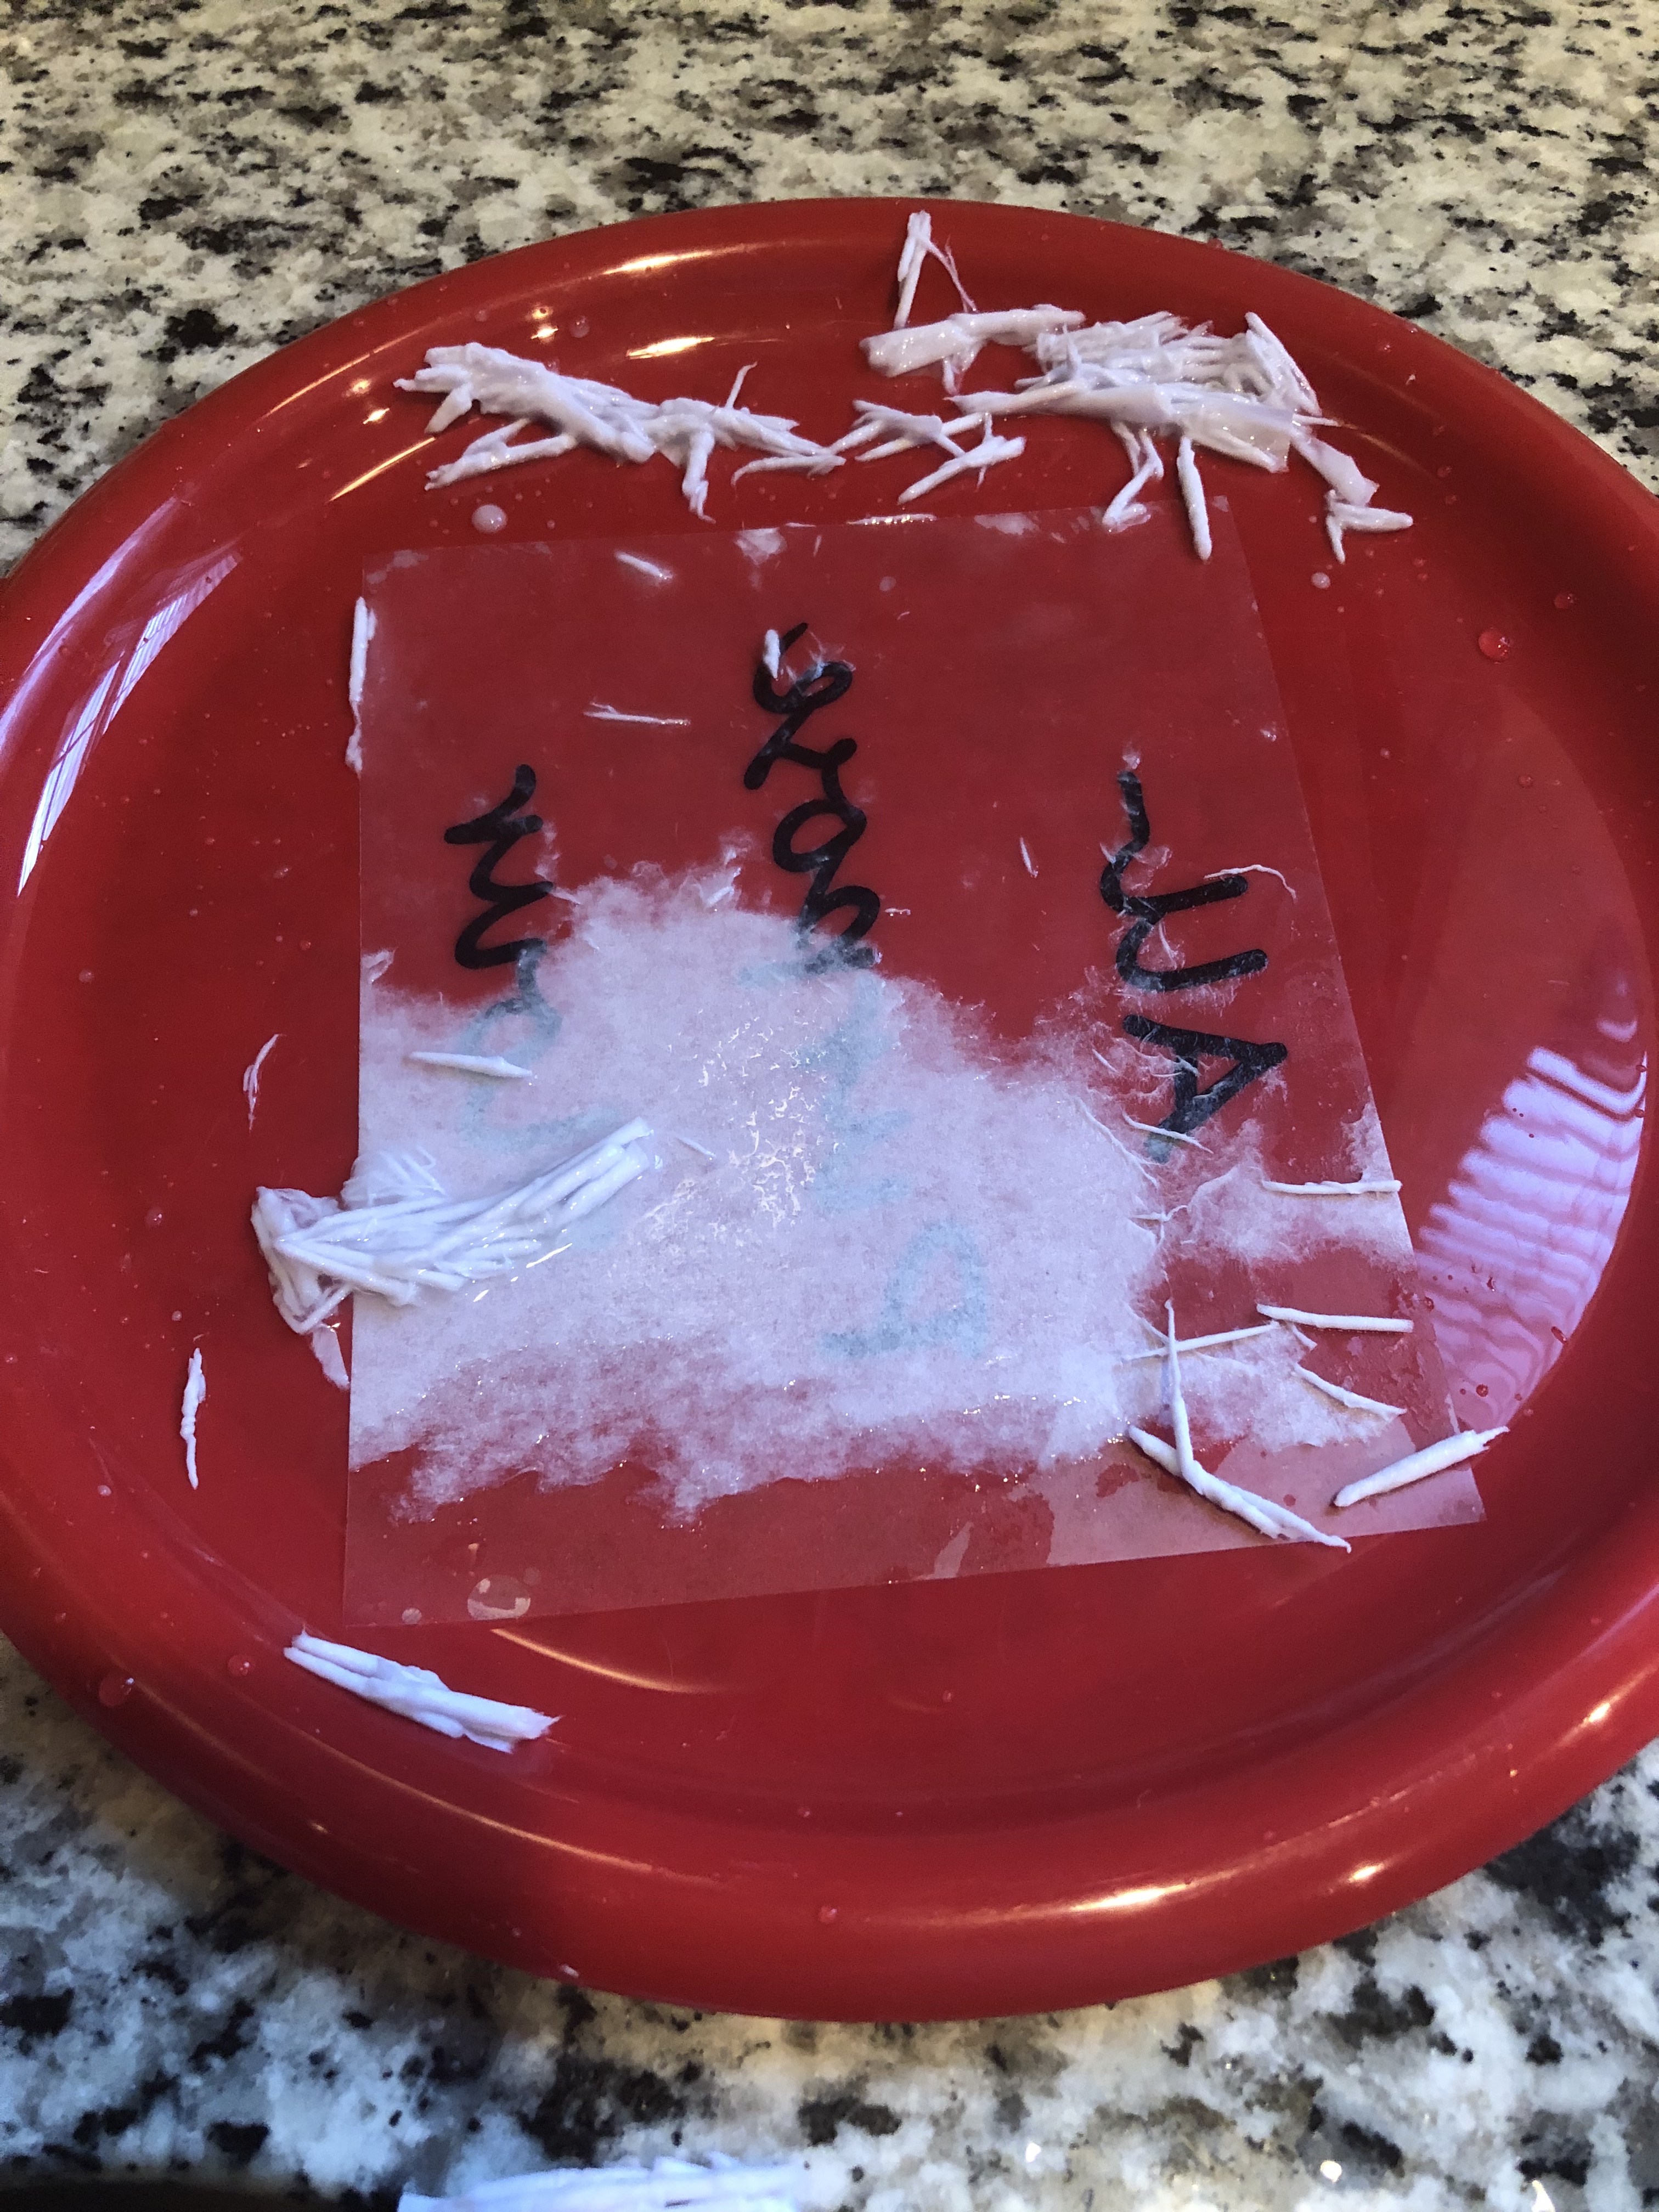
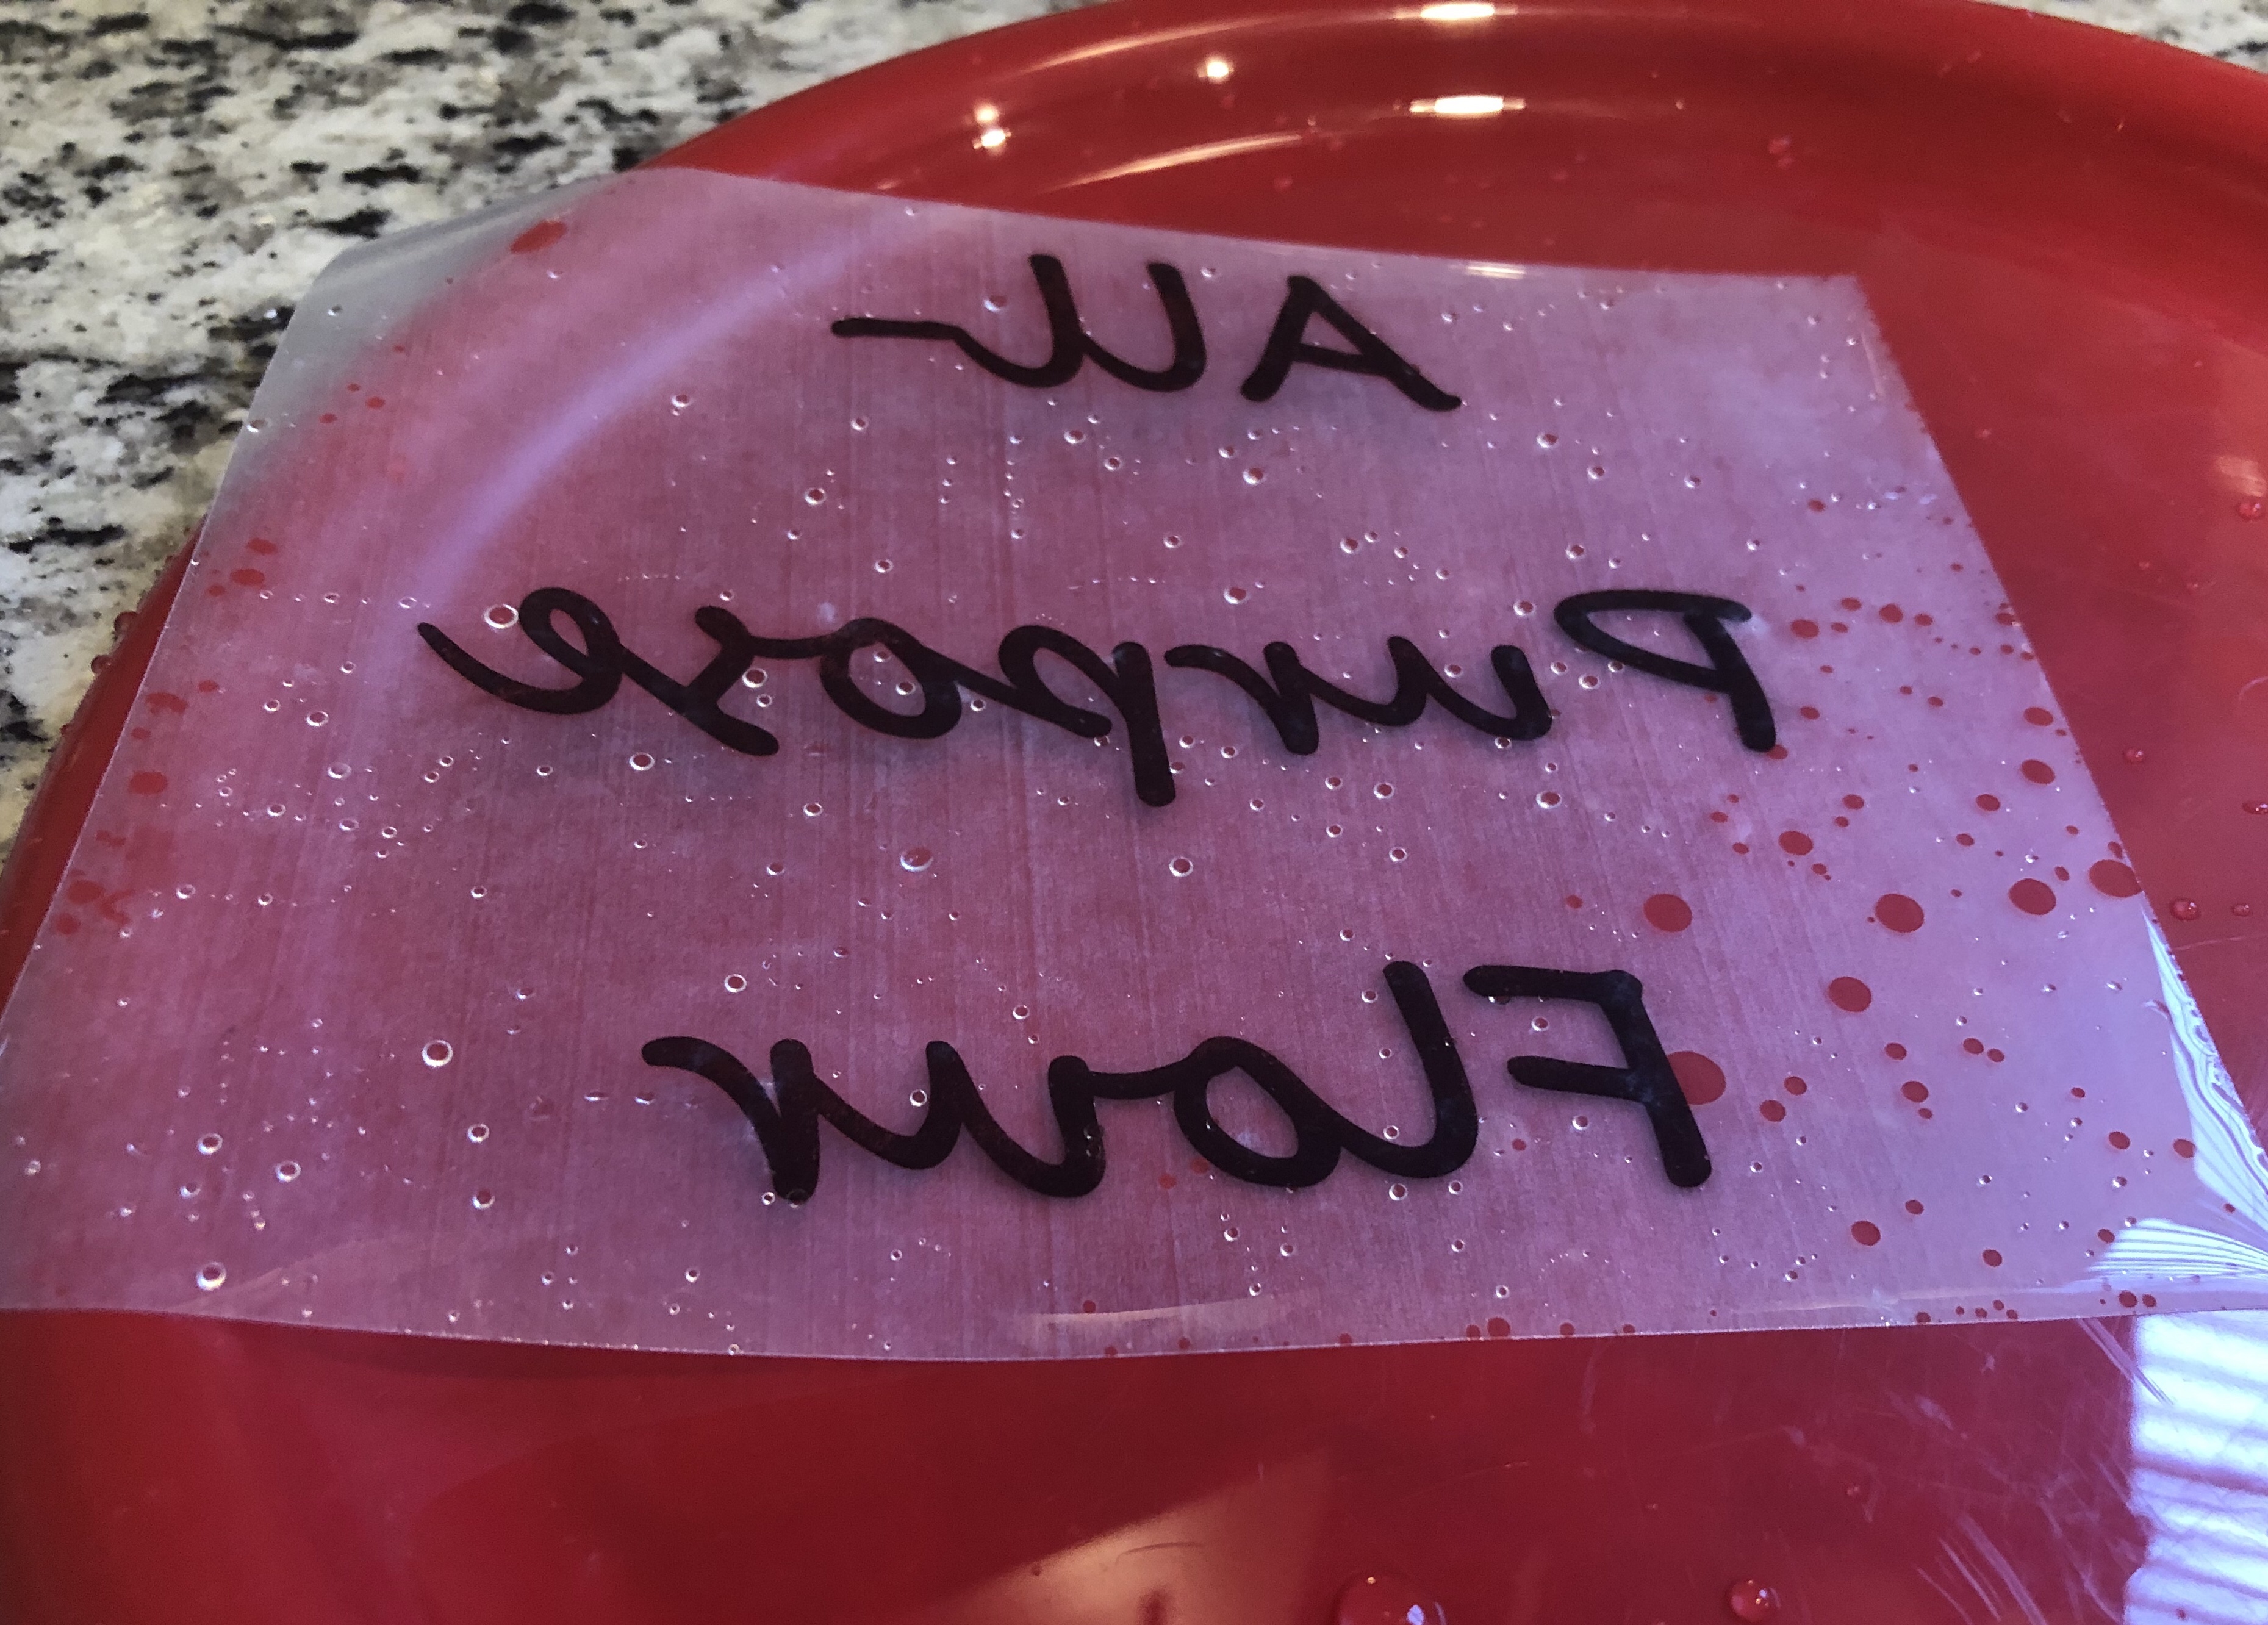
- Soak labels in a bowl or shallow plate of water and wait until the letters of the paper start showing through on the back (about 2 minutes will suffice). The purpose of this step is to get the paper soaked enough so that it could be easily rubbed off.
- Lay wet labels flat (on the non-sticky side) on a flat plate or surface and begin rubbing the wet paper off with your fingers. Be careful not to rub off the ink that has now been transferred to the contact paper. Go slowly and gently over the letters during the rubbing process.
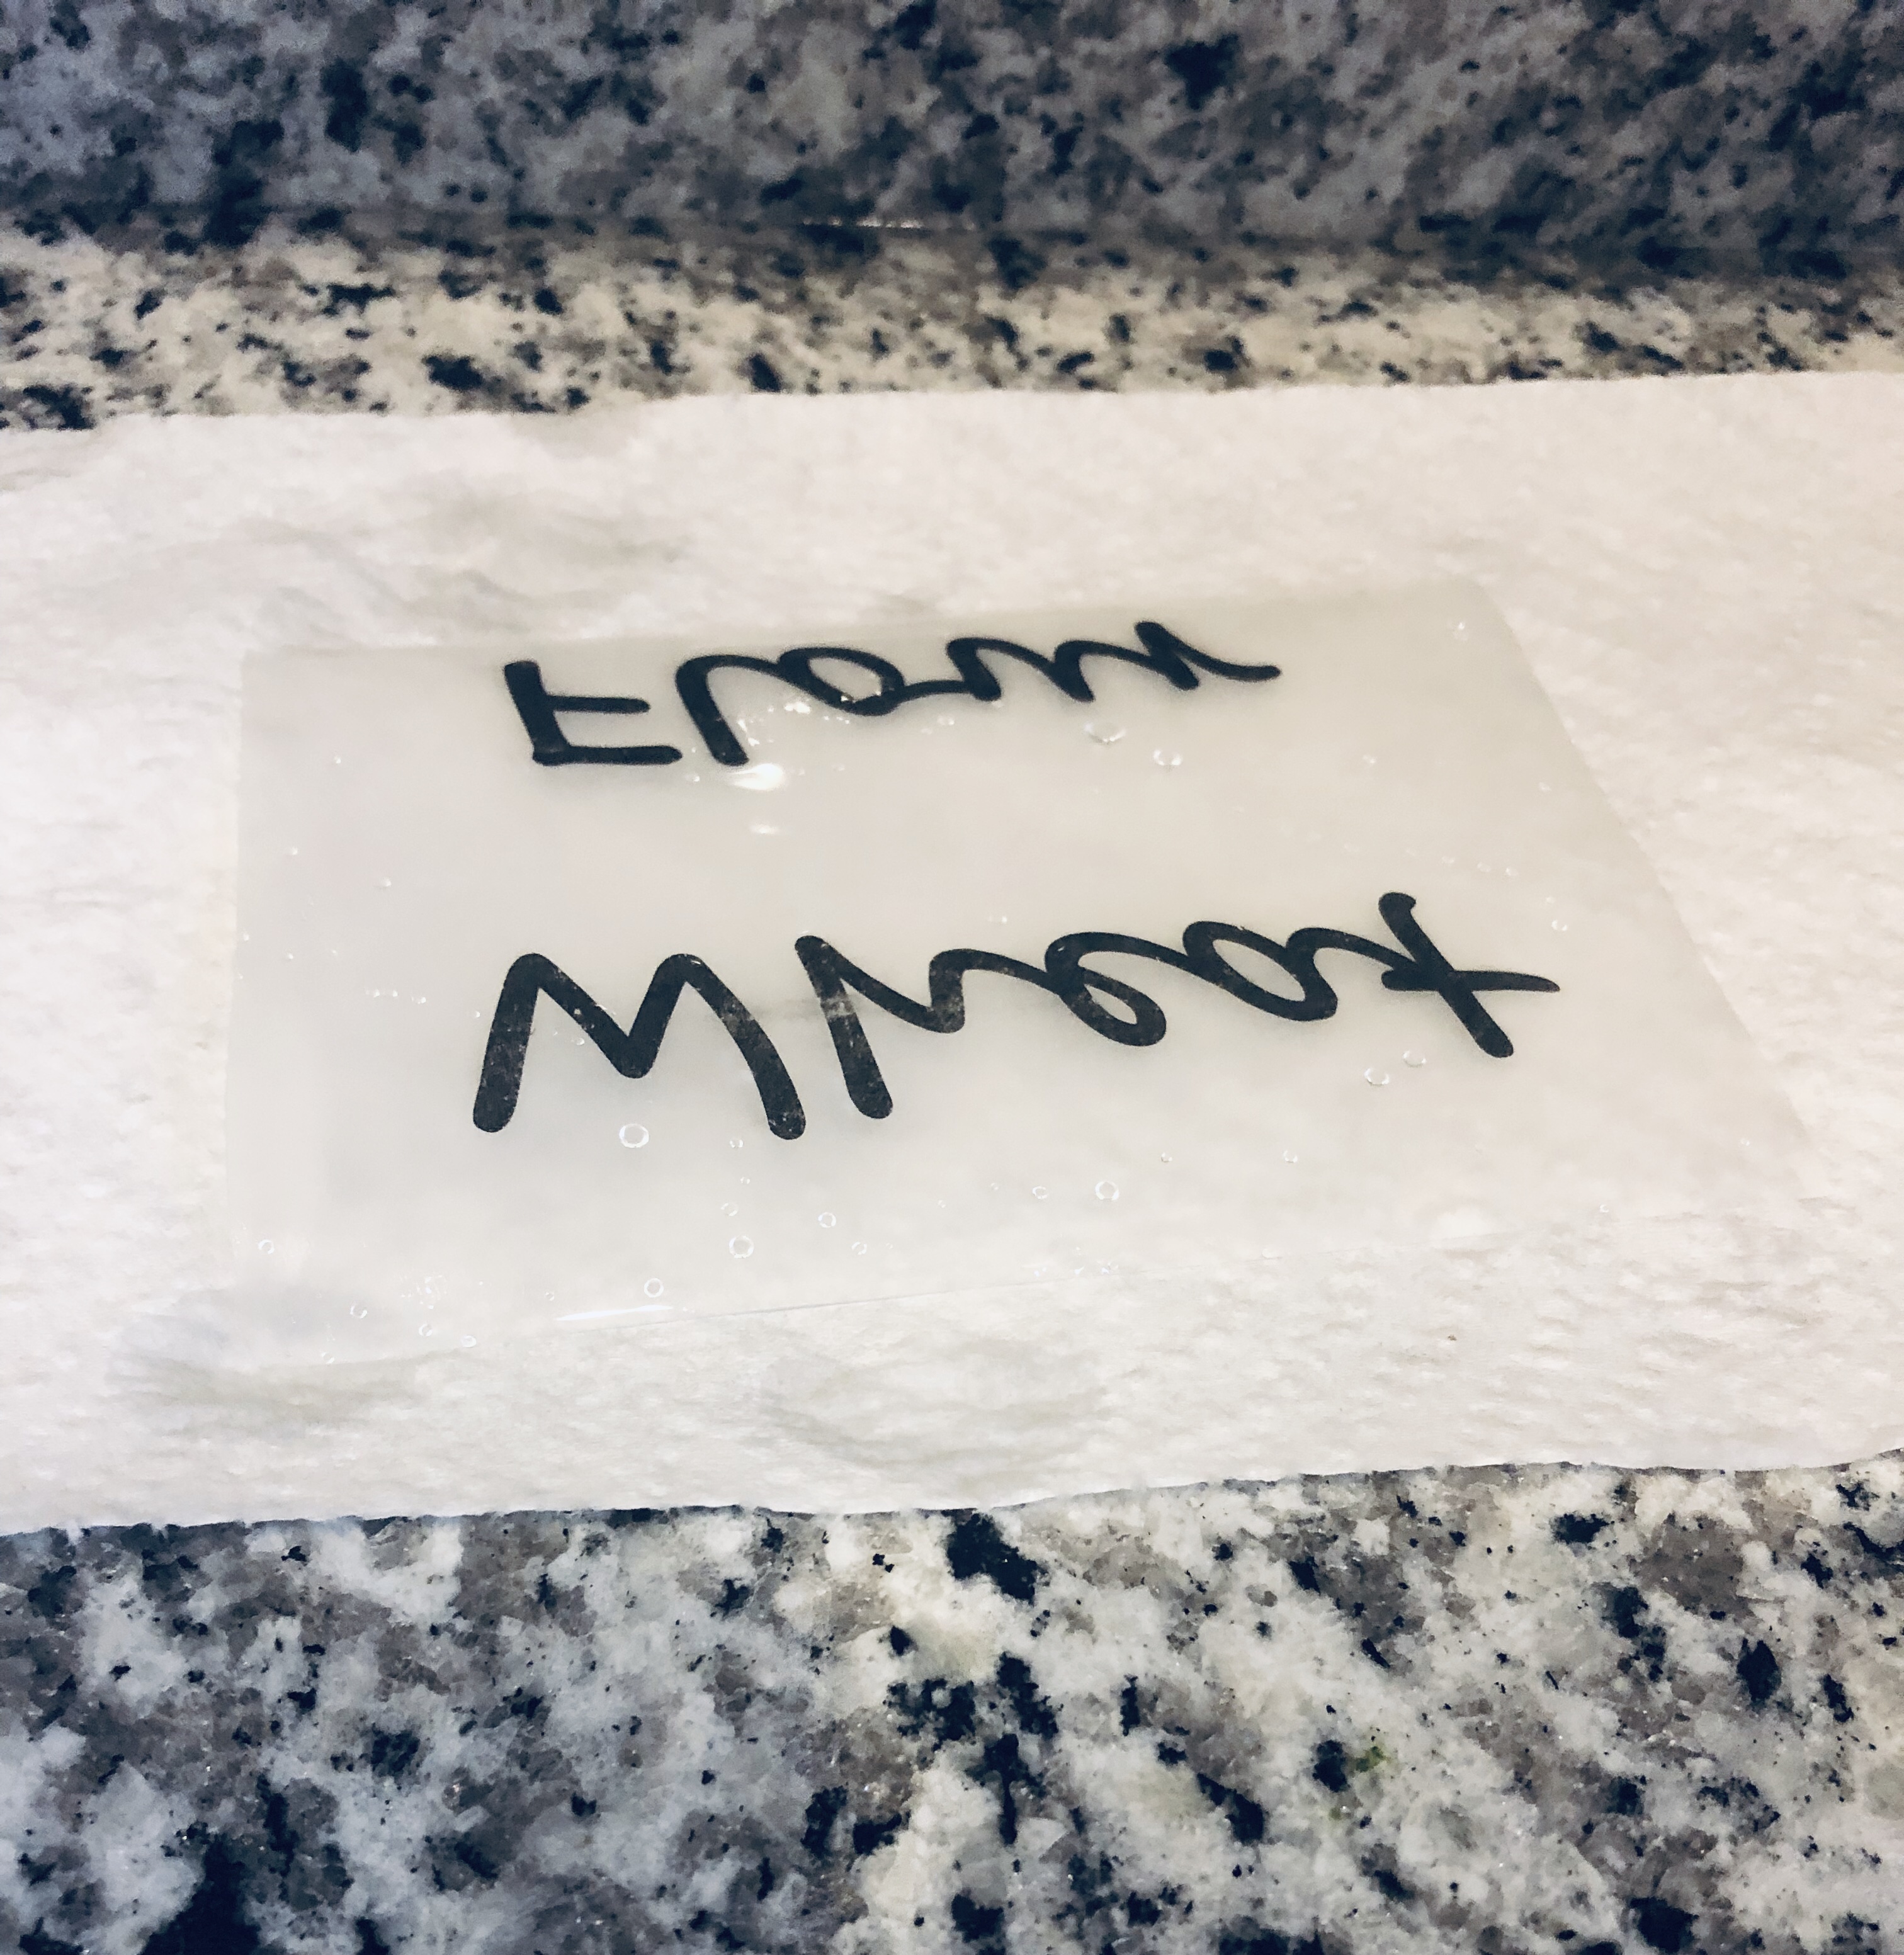
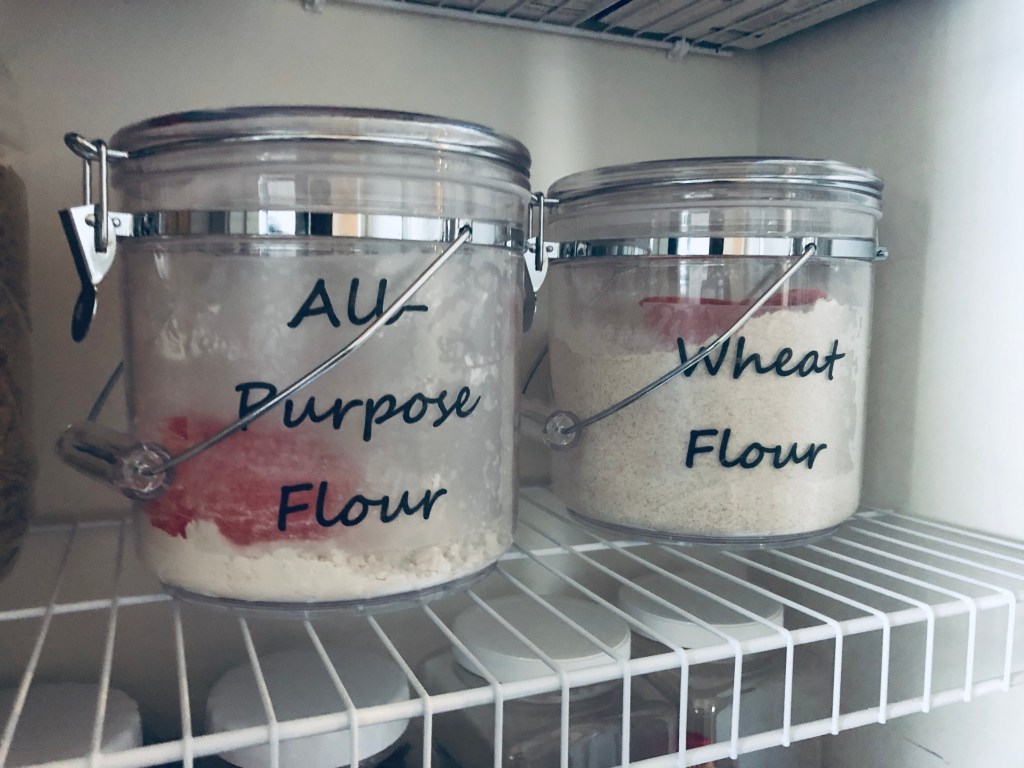
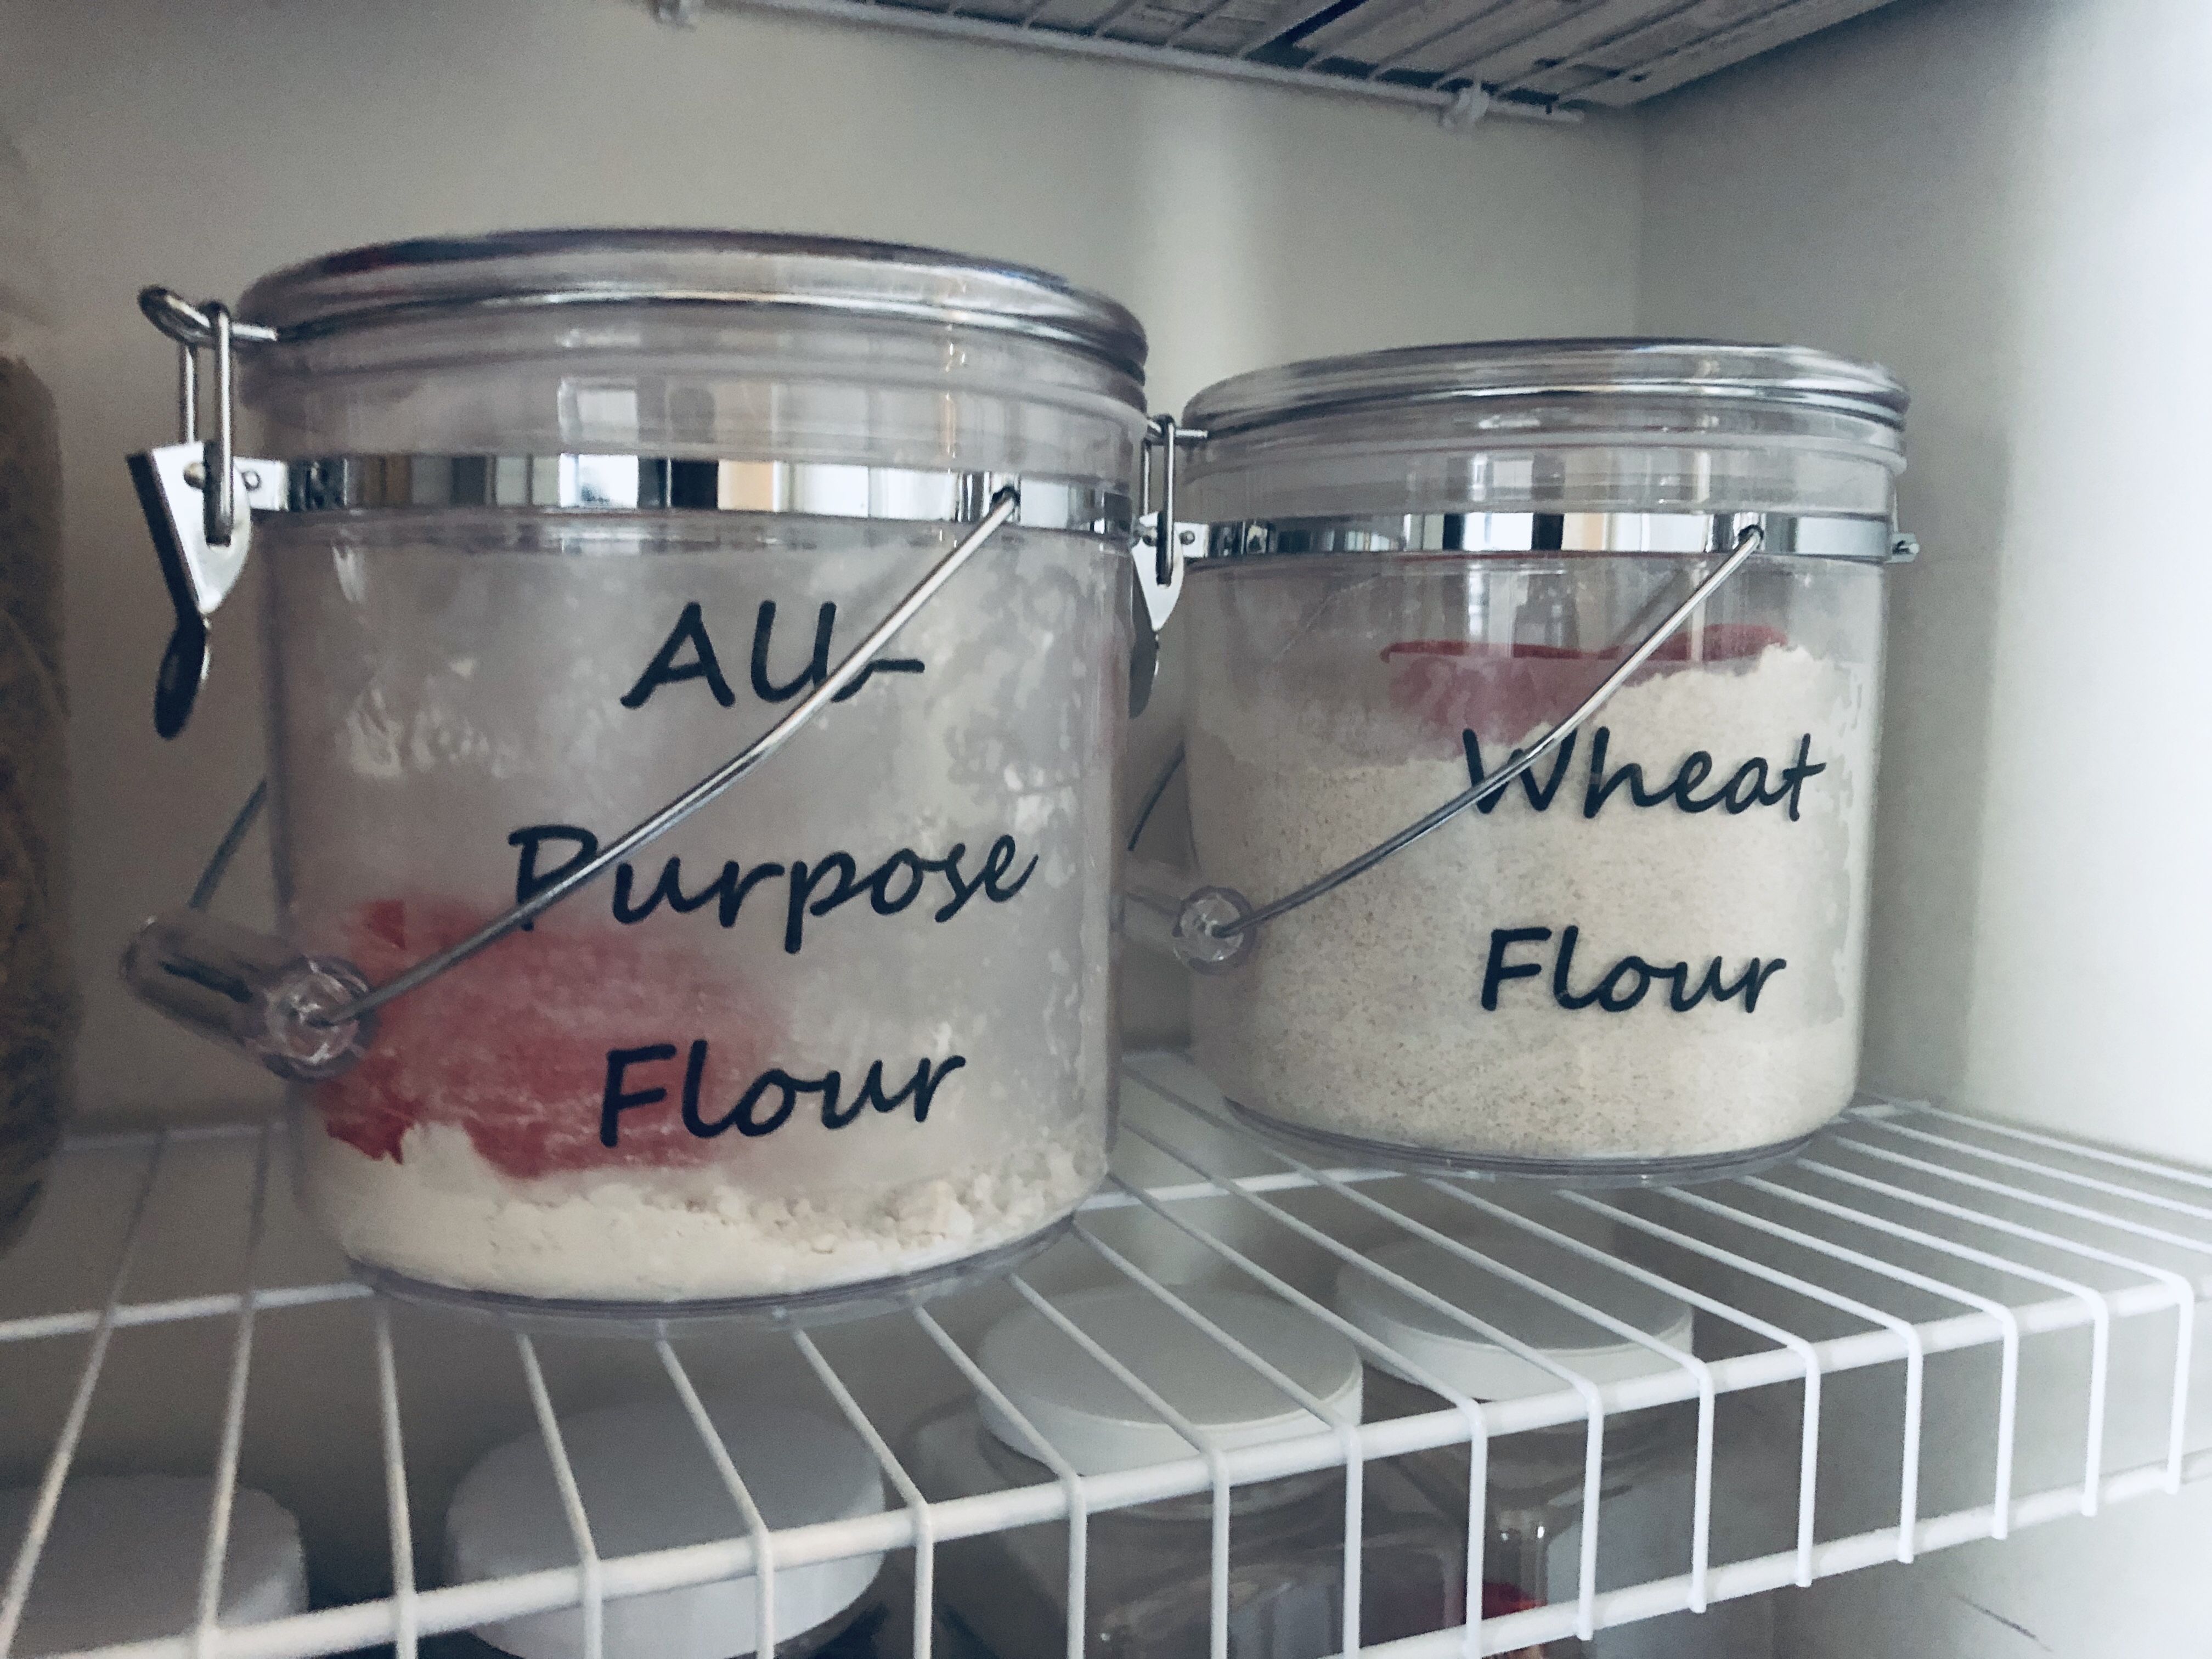
Let labels dry and place them on your pantry containers. You might need to wet the labels a second time if there’s still a good amount of paper left on the back side of the label. Just go slowly and gently. I have to remake some labels because I rubbed too hard and smeared the glue on the contact paper.
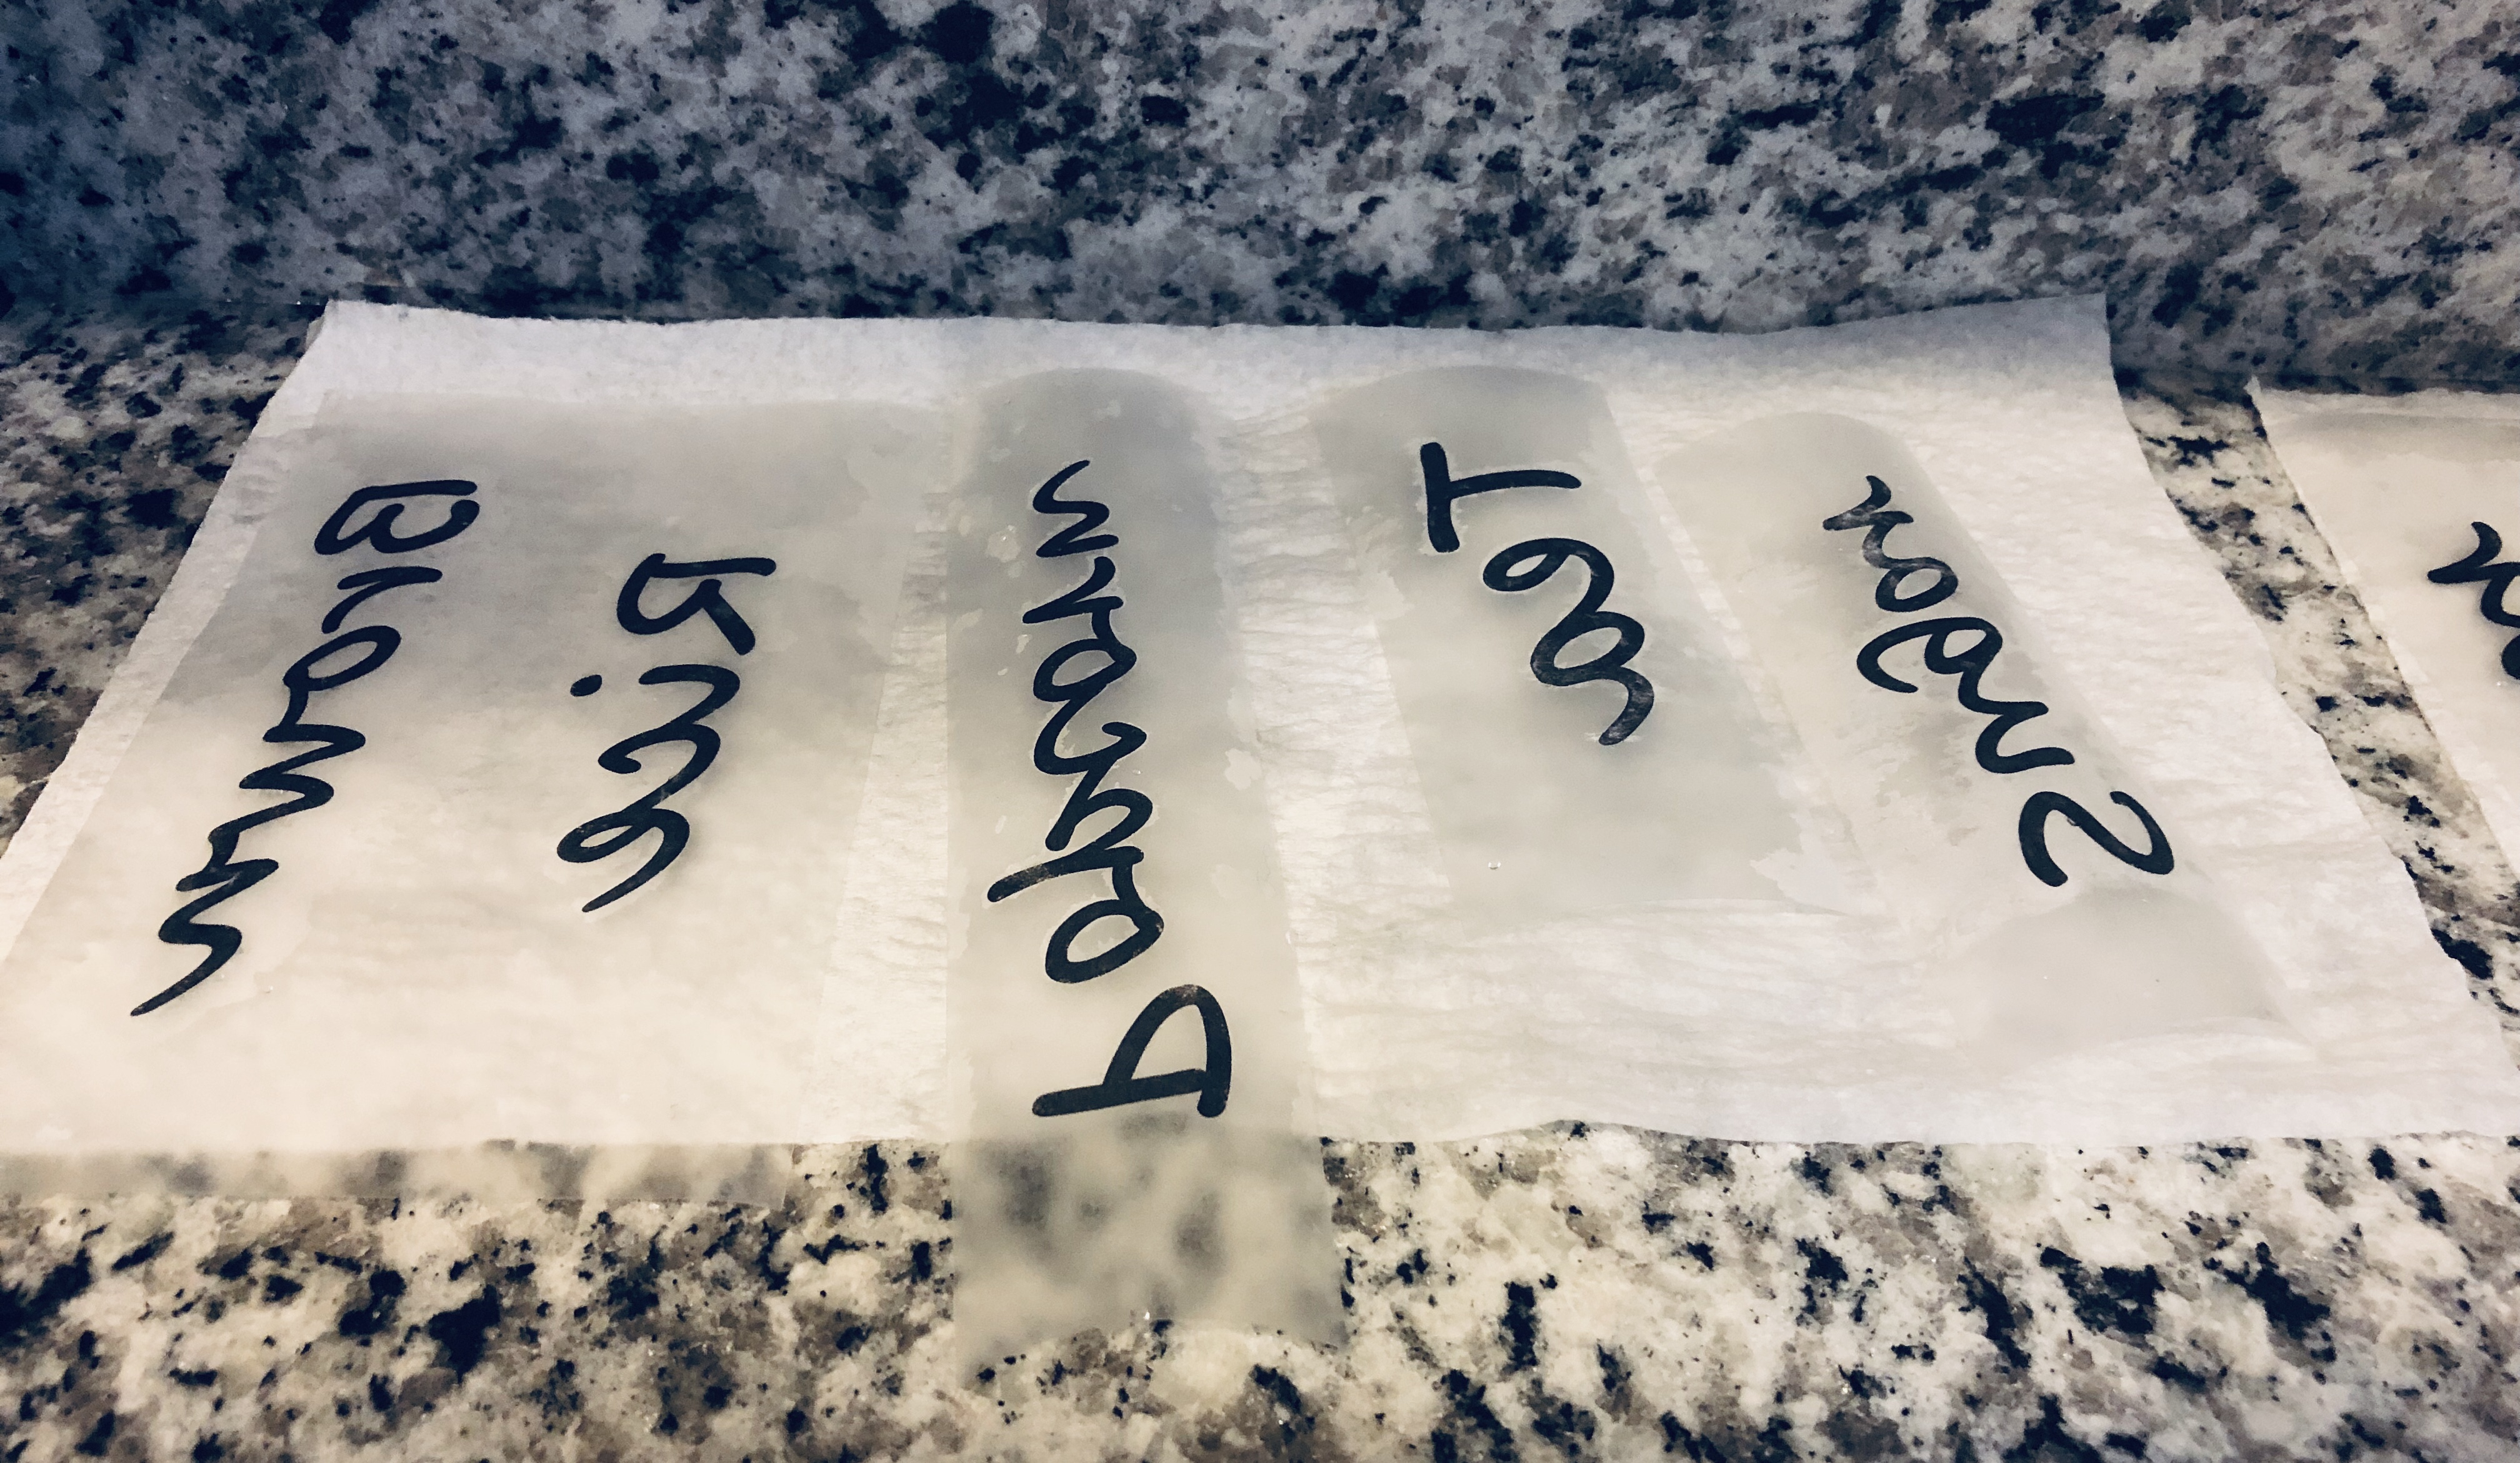
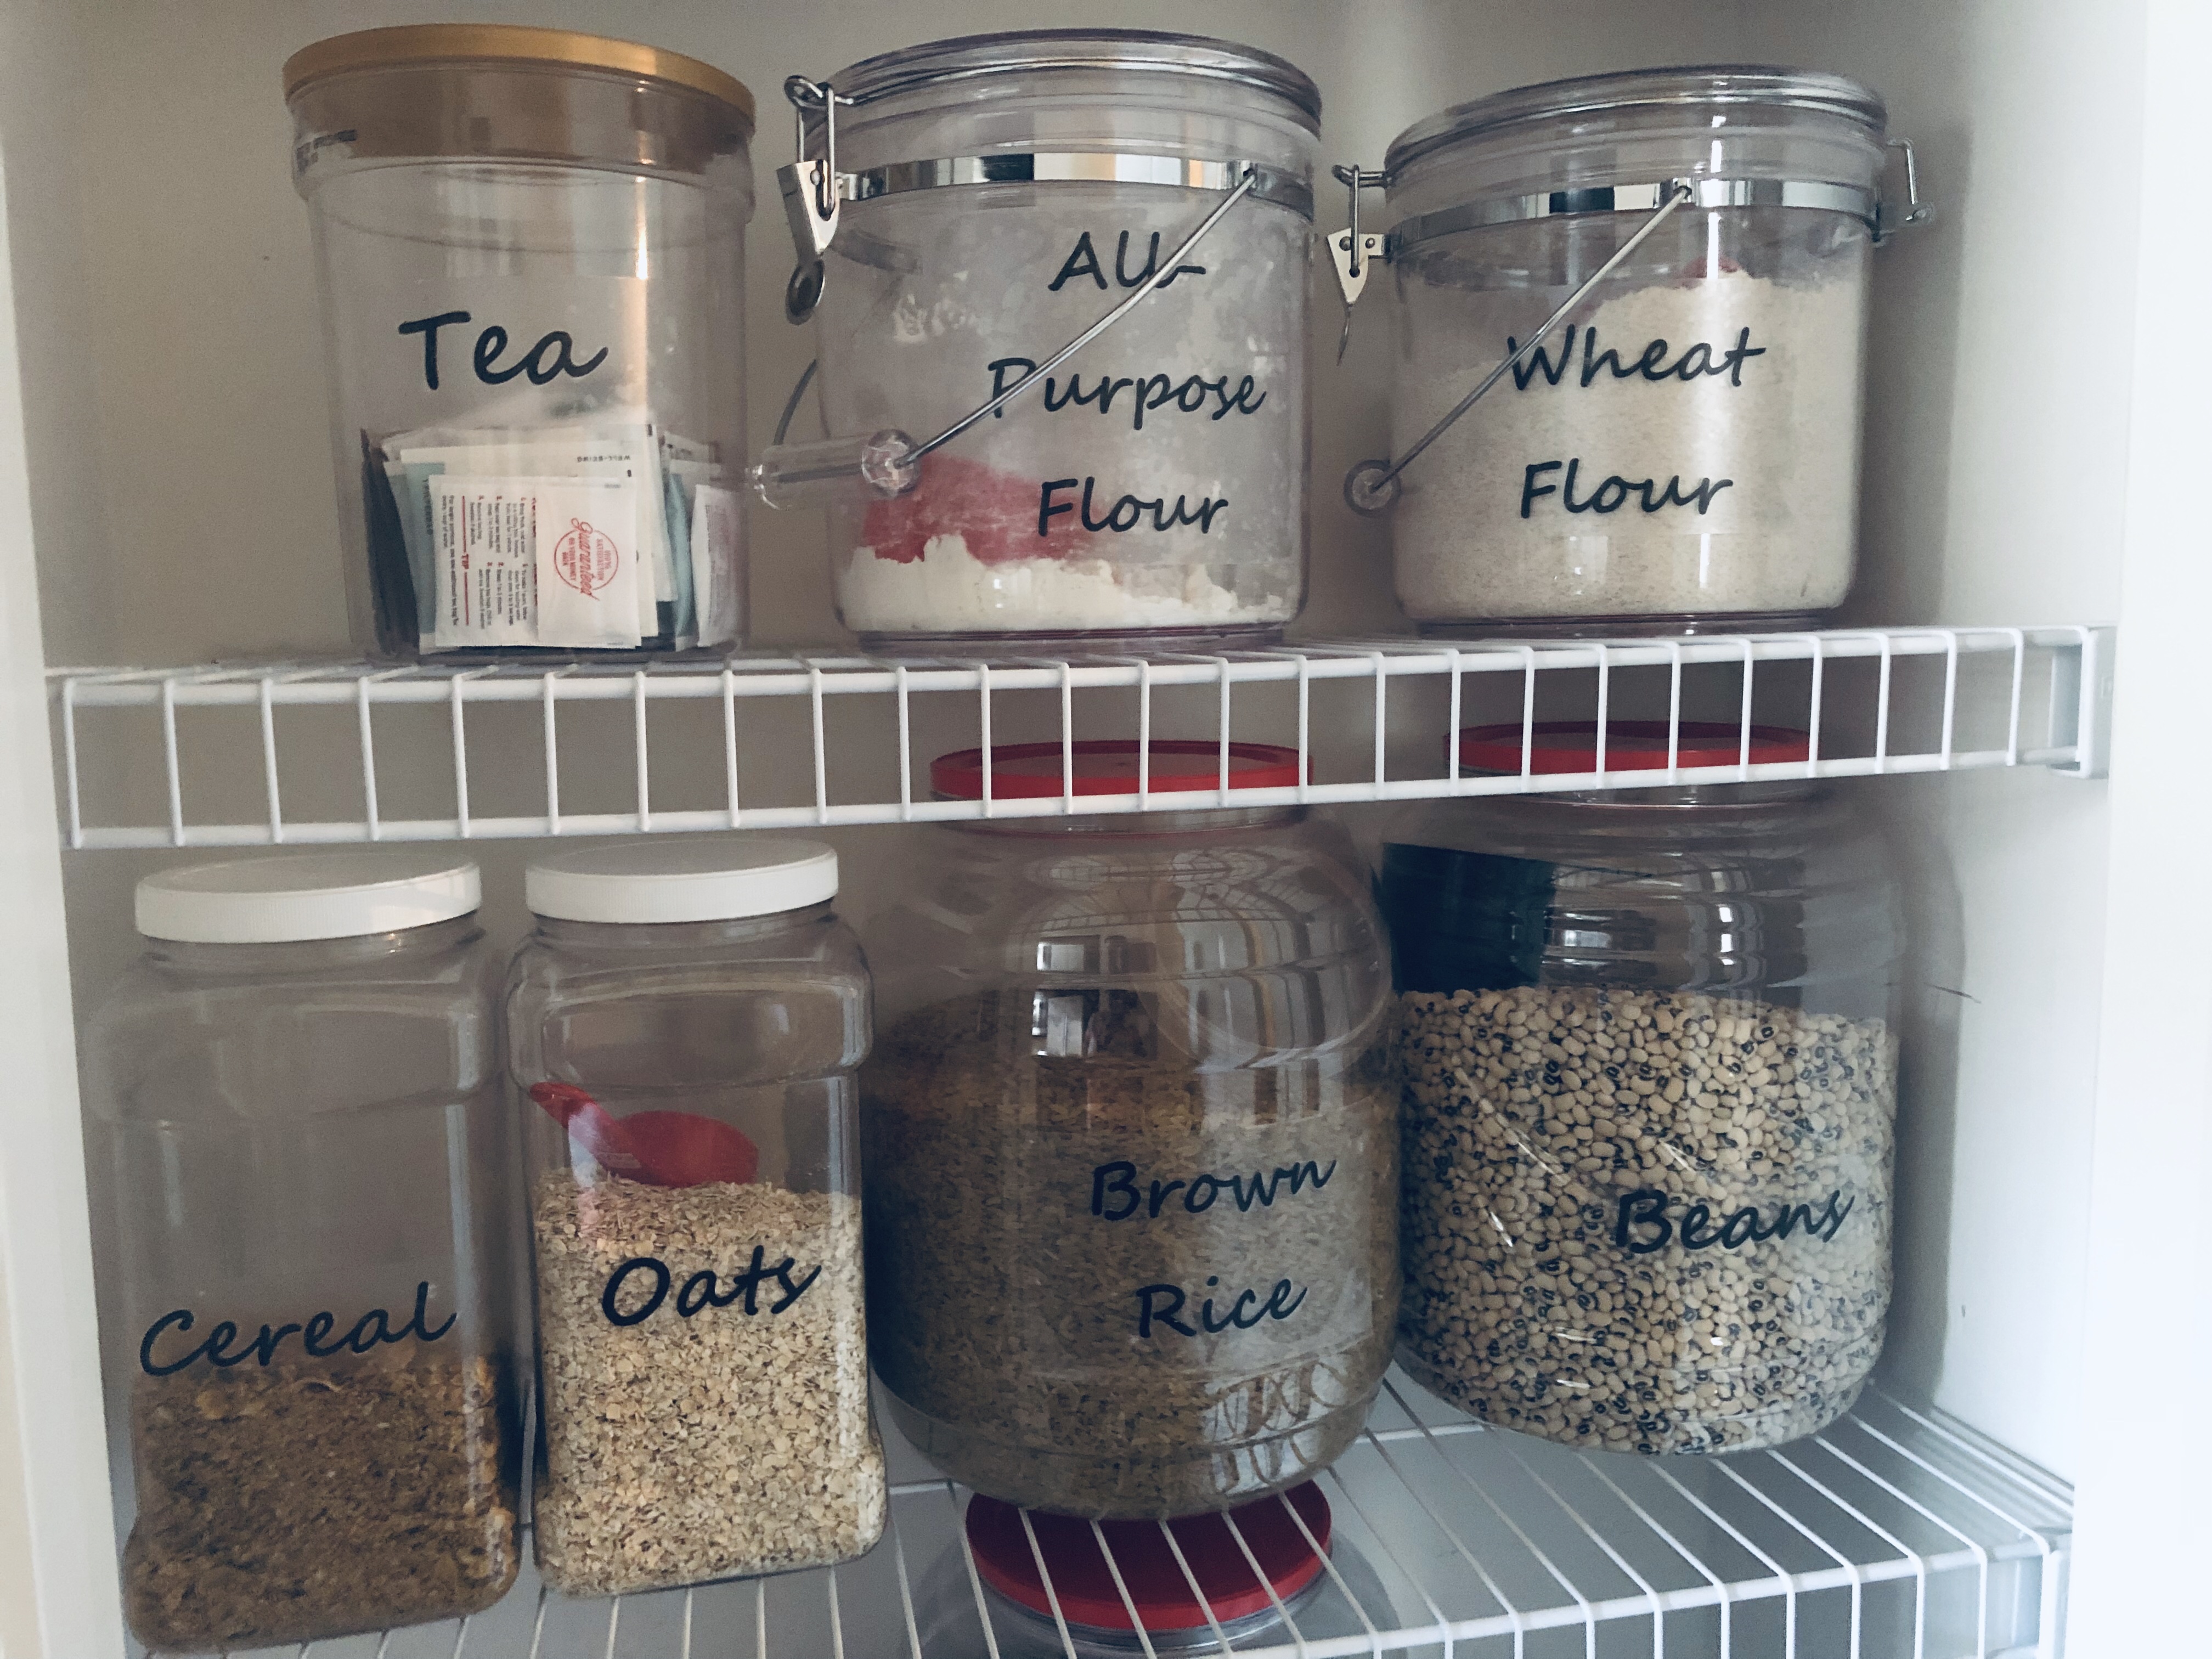
- Enjoy! Now you have beautifully labeled pantry containers!
Like this post? Share, subscribe and follow me on Pinterest!
Other Posts you Will Love……


Leave a Reply