Hello everyone! Hope all is well with you and your families.
Today I’m going to share a DIY furniture transformation project with you.
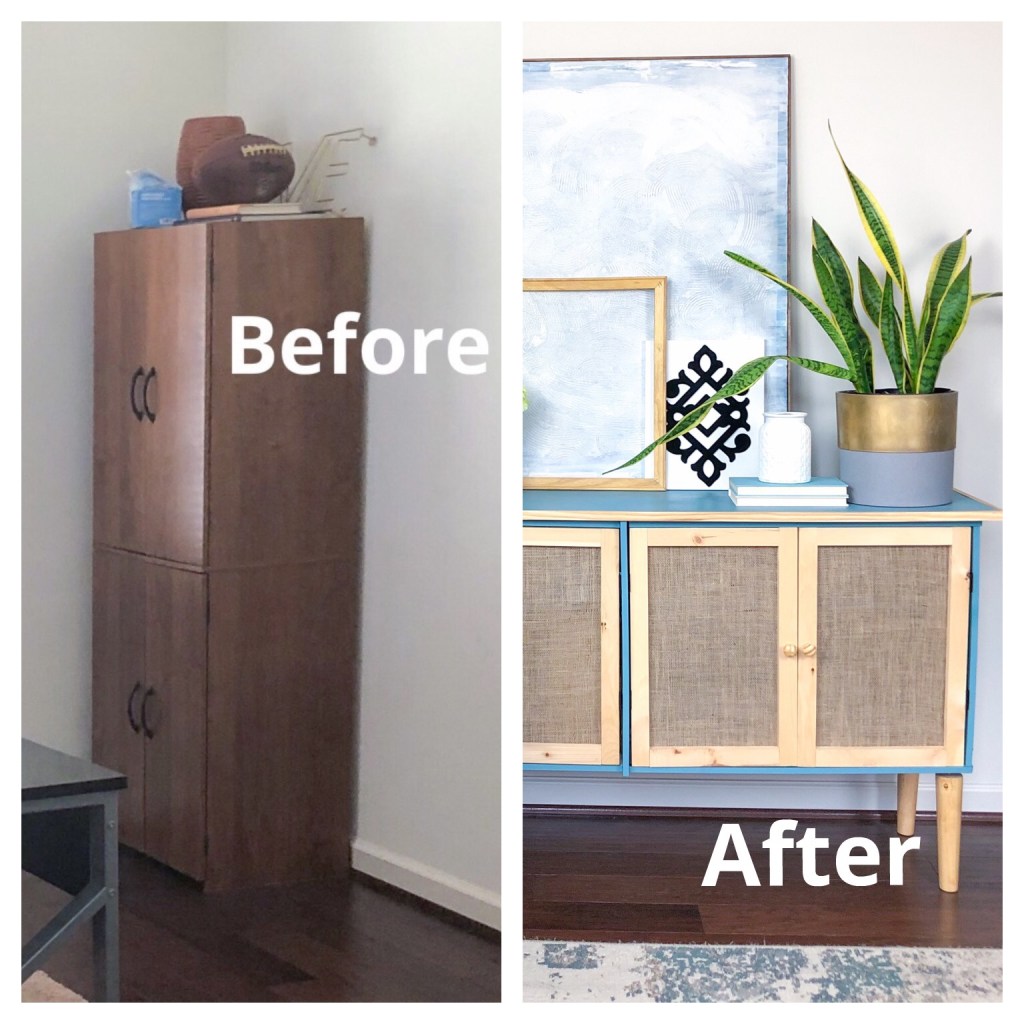
I initially purchase this storage cabinet from Walmart about five years ago and used it as a pantry because we didn’t have one then. It was a reasonable purchase for about $100.
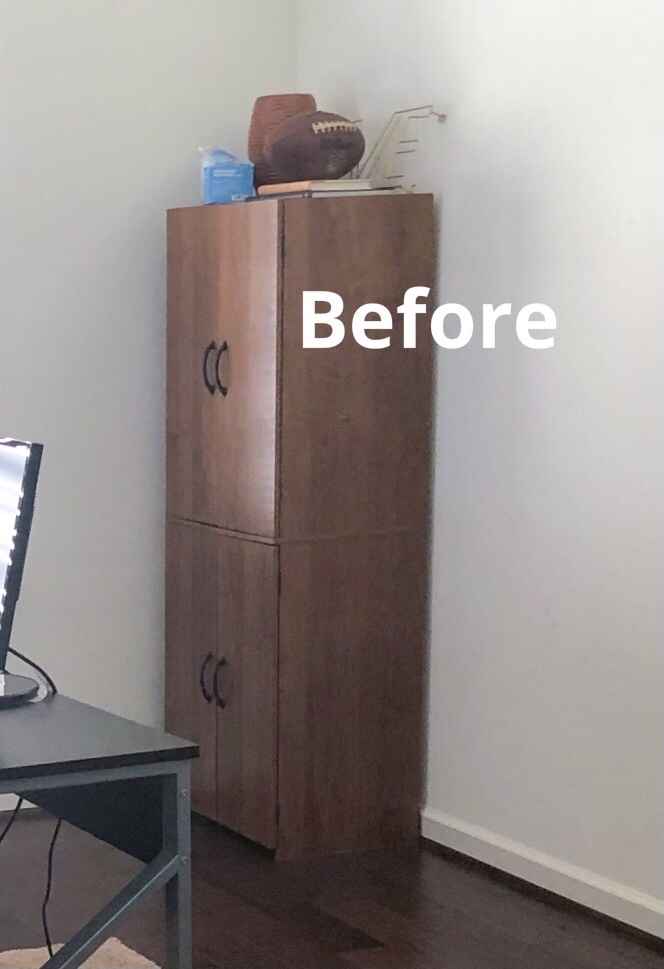
We have since used it as an office storage cabinet. Well more like a junk cabinet, because that’s what essentially ended up in there. We stored books, printing paper, computer cords, and mail that needs to be shredded in it. As you can imagine, it became unsightly over time.
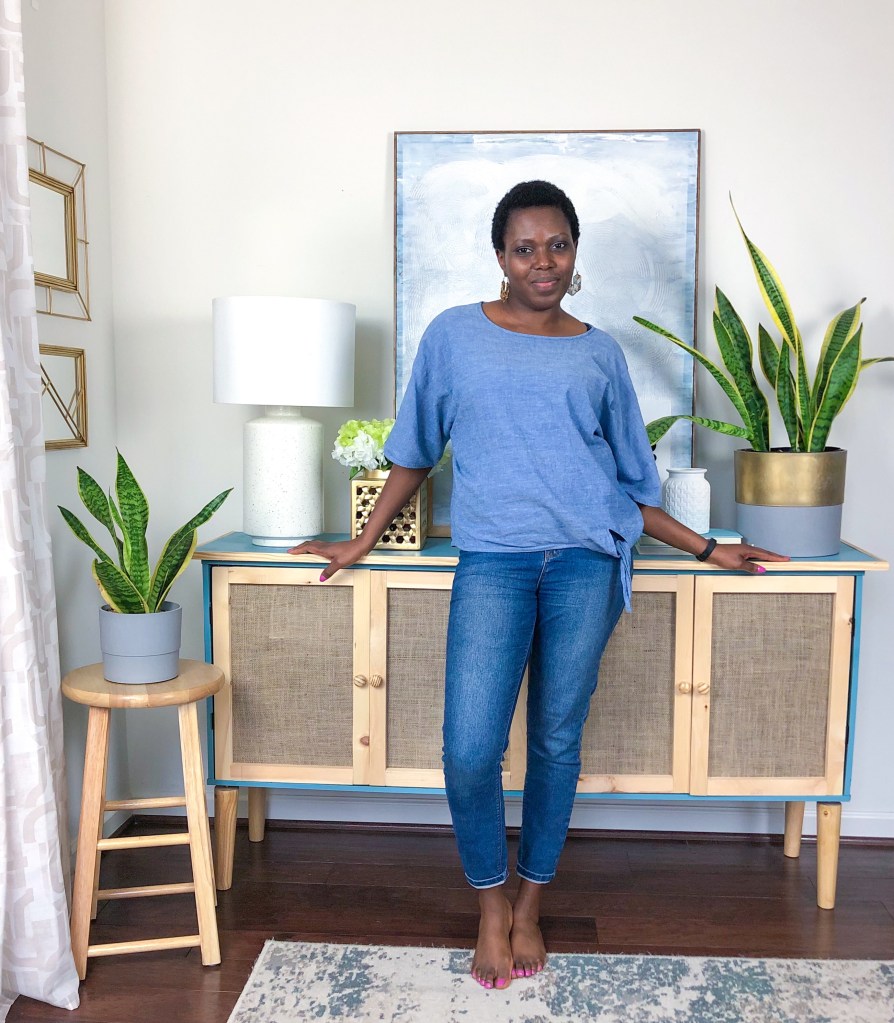
Plus I could not stand the fact that it stood lonely in the corner of the room! Its awkward height and width made it difficult to decorate around it. I was ready for change, and my ideal furniture would feature a credenza/console height, at about 30″ and would be the length of a standard sideboard at about 60″.
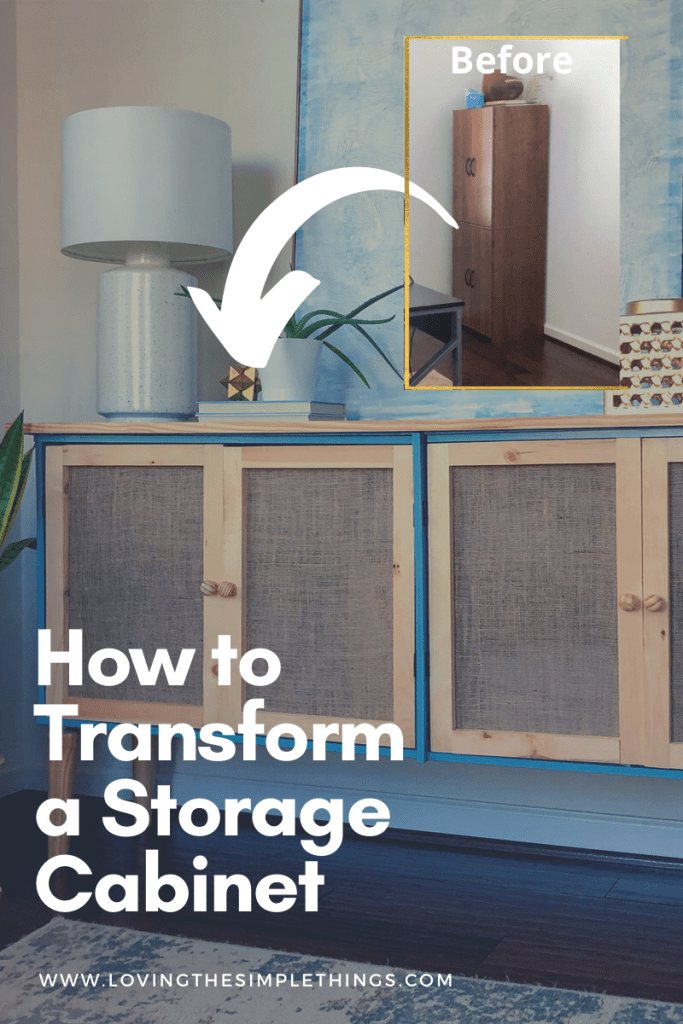
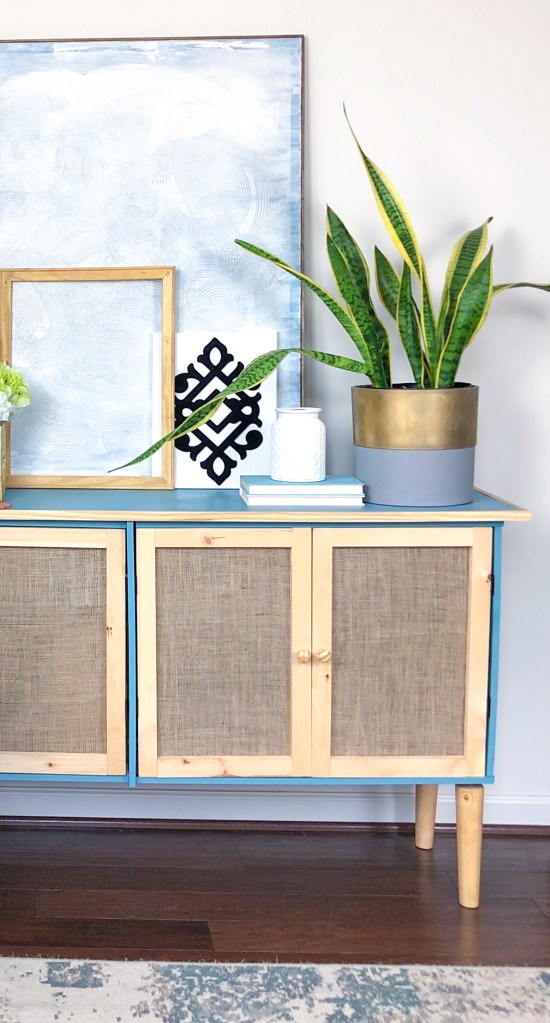
So I embarked on my plan to transform the storage cabinet to a storage console/shelf/sideboard/credenza.
How to Transform a Storage Cabinet into an Office Credenza/Sideboard/Storage Console
Materials:
- 3/4″ Sanded plywood
- Brad nails
- Furniture Legs
- Paint primer
- Latex paint (color of your choice)
- Polyurethane Spray
Tools:
Instructions:
- Remove all doors and hardware. You might want to save the door handles and hinges to finish the project later – if you plan to add doors like I did.
2. Cut “legs”/stand. I used a jigsaw to cut off the “legs” of the storage unit. This was a fairly easy step since the cabinet is made of manufactured wood. I then sanded the ends very gently by hand to smooth them out.
3. Measure and Prep Shelf Boards. I added horizontal shelves to the cabinet using scrap plywood. I honestly did not plan to add shelves, but I figured the space would be too wide without shelves. I wish I had thought about it earlier in order to have some plywood cut at the lumber shop when I purchased the plywood I used for the top of the console.
I cut the plywood shelves using my jigsaw. My “cut work” wasn’t exactly nice and straight, so I concealed the imperfections by turning the hand-cut side to the inside of the console. I held the shelves in place using the original shelf support pegs.
4. Replace Cabinet Backing. I removed the original cardboard backing and replaced it with 1/4″ thick sanded plywood. I installed the backing using 1″ wire nails.
5. Attach Legs. After inserting the shelves to make sure they fit, I proceeded to attach the legs. I purchased the legs from Amazon. I did not bother to paint the legs, since I was incorporating a lot of natural tone pieces into the office space.
6. Install New Top. After the legs had been attached, I nailed two pieces of 1/4″ thick plywood to the top (based on the original design of the cabinet). Then I hammered on a 3/4″ thick plywood as the new top of the console.
Can I share a little story with you? I planned to used a brad nailer for step 6, only to find out that I purchased a pneumatic nailer and I needed an air compressor to run it (face palm). I was so shocked when I read the manual…haha. Anyway, thank God for the good ol’ nail and hammer.
7. Sand, Prime and Paint. It’s time to sand, prime and paint the piece. Although many latex paint include primer already, I feel it’s still very important to prime the console first since it’s made of MDF. I learned a very difficult lesson trying to skip this step.
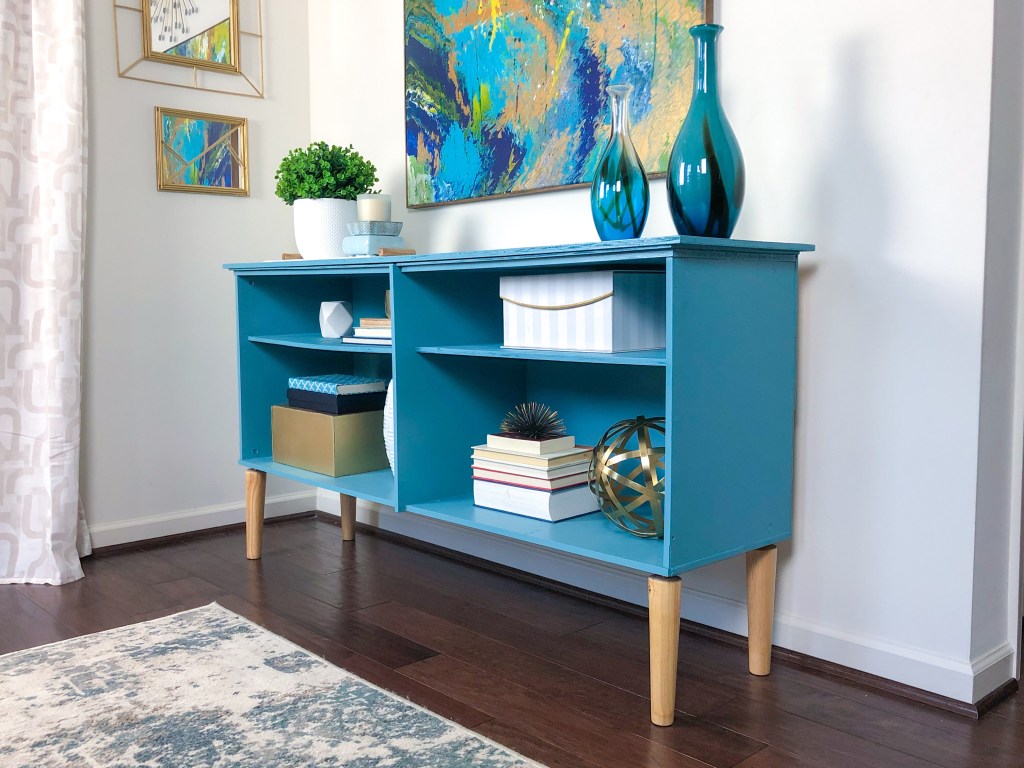
I definitely learned a lot from this project, being that it’s my first major woodworking and furniture painting project. Sigh!
I learned….
- Measure multiple times. This was a hard lesson! I mismeasured the plywood I used for the backing, so I had to hand-cut another piece to finished covering the back. Goes with the saying “measure twice, cut once.”
2. Prime, Prime, Prime. Make sure previously stained furniture is properly sanded or primed before applying latex paint. I used a liquid sandpaper, but I doubt that I used enough. I had to stop and use a spray primer I had on hand when I noticed that the latex paint was not adhering to the console. The liquid sander will probably work best on real wood furniture.
3. Prime Unstained Wood too! Unstained wood should be primed as well. I think I would have used less paint if I primed the plywood top and shelves before applying paint. These pieces soaked up A LOT of paint.
4. Seal your Latex-Painted Furniture. Sealing a painted furniture with finishing wax or polyurethane is a necessity! Be sure to to choose the right one though. For example, choose a water-based sealer if you used water-based paint and be mindful of the finish too. You can choose from matte, semi-gloss or gloss options.
This was a hard lesson to learn as well. I found that the console was sticky to touch and would peel off on any items I place on or in it. It was frustrating and thought I had to repaint the whole piece again. After some research, I realized the missing piece to the puzzle was a sealant. I applied two coats of this polyurethane spray.
5. Give your Painted Furniture Time to Cure. I’m sure you can’t wait to use or style your painted furniture, but be sure to follow your paint and polyurethane manufacturer’s directions when it comes to giving the paint enough time to cure, or else, you might mess up your work.
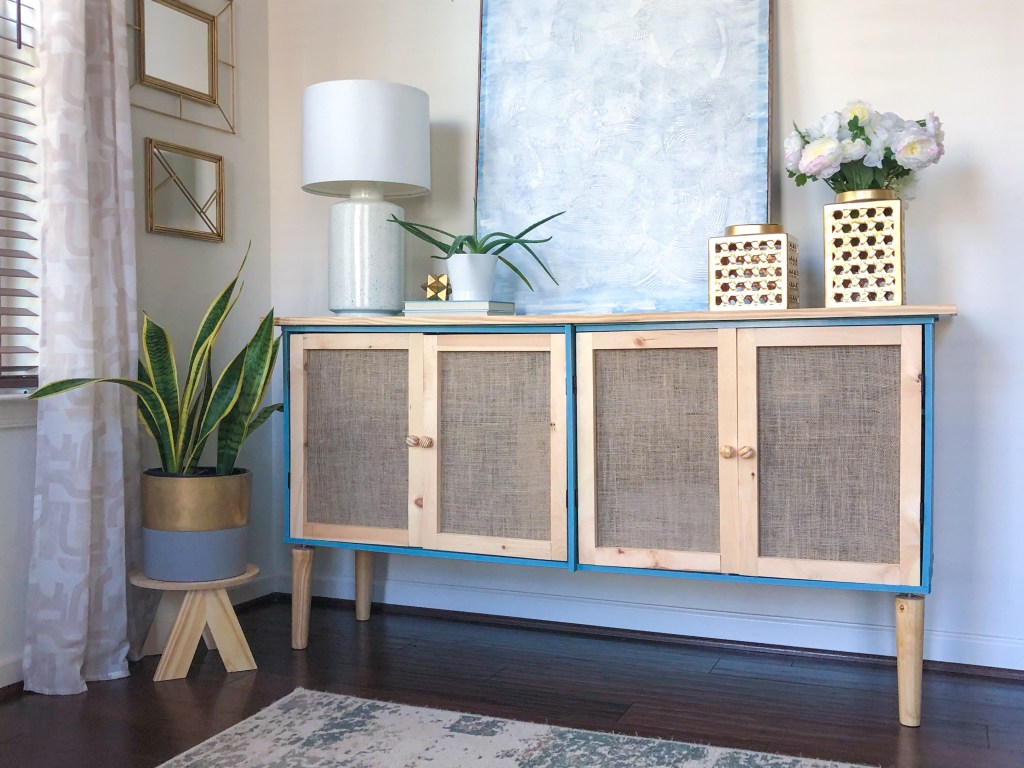
DIY Update: I Added Woven Doors
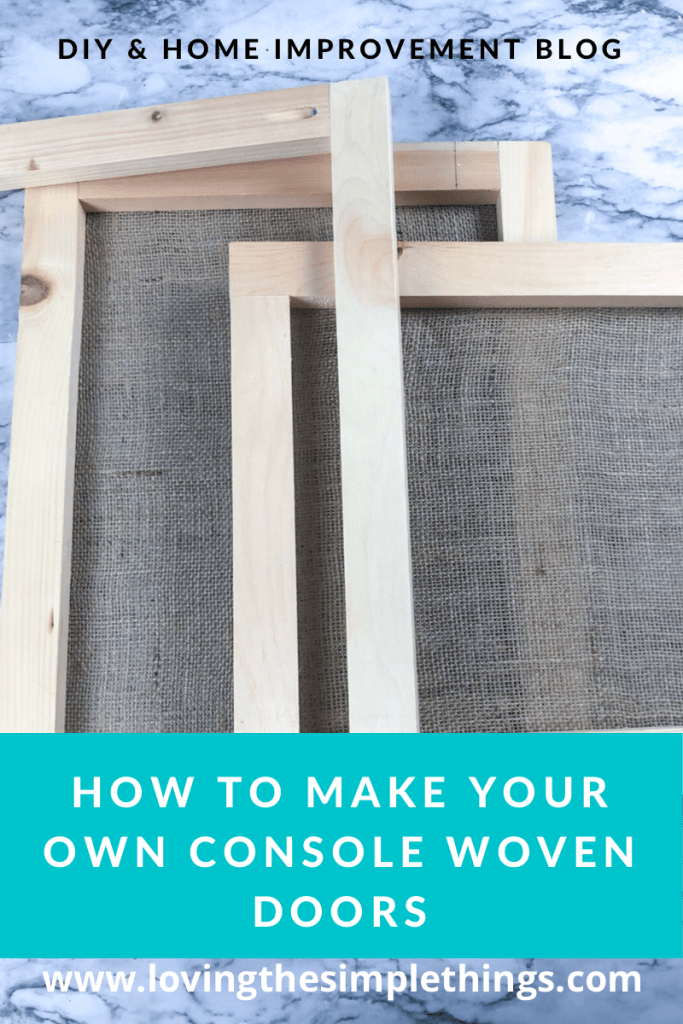
How to Make Customized Woven Doors for your Console
I initially did not plan to add doors to this console/credenza, but I didn’t have a choice but to do it because we started using it to store homeschool materials and boy oh boy, it was getting messy. I was constantly organizing behind my boys and stacking and restacking books. This mama was getting tired of their mess!
So, it was time to make another change and add doors to hide their mess.
I went the budget-friendly route for this DIY and made woven doors with burlap cloth and 1 x 2s. I would have loved to use woven cane, but they are much more expensive compare to burlap fabric.
Tools:
Materials:
- 1 x 2 Common board
- Burlap fabric
- 1″ Pocket hole screws
- Tacky glue
- Staple gun
- Staples
- Door Hinges
Follow the Steps Below to make Woven Console Doors
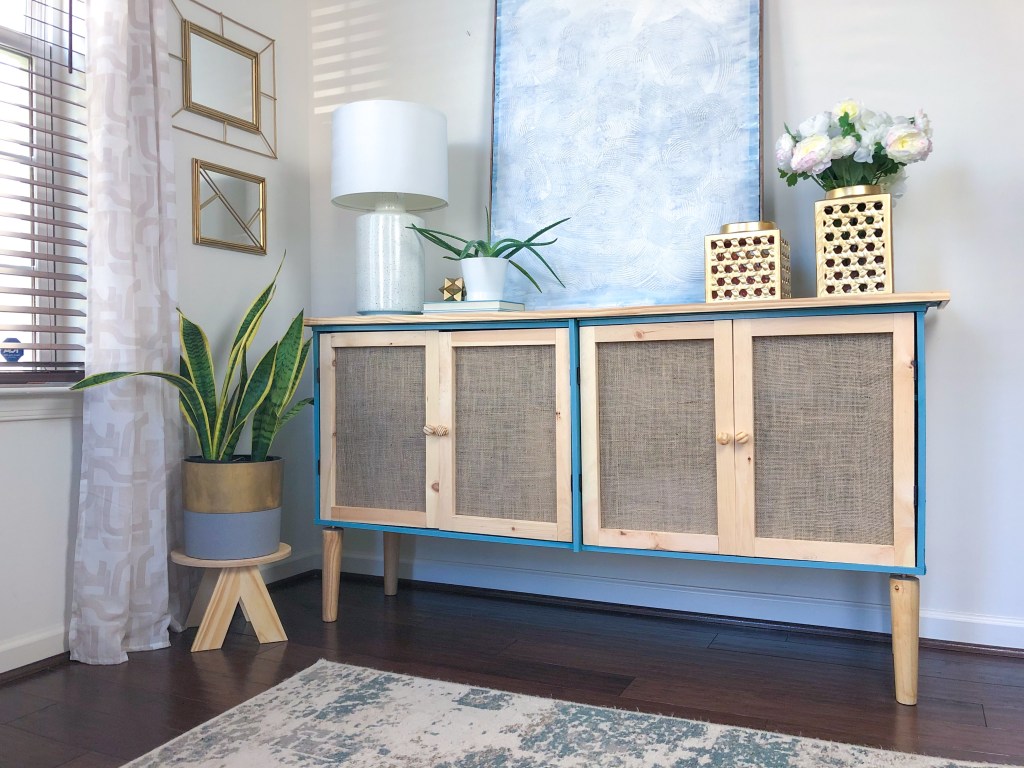
- Determine the number of doors you want to install and how/where they will be positioned. I decided to build four doors; two on each side of the console.
- Measure the exact dimensions of where the doors will be installed. Be sure to leave some clearance for the door hinges. Measure the thickness of the door hinges to decide how much space it would take up, then subtract if from the width of the door measurement.
- Cut the 1 x 2 boards according to the door measurements made.
- Create pocket holes (using the Kregjig Pocket hole jig) and use 1″ pocket hole screws to join the boards together to make the frame of the doors. I created two pocket holes on the ends of the longer boards.
- You should paint or stain the door frames at this point (if you prefer to).
- Cut a piece of burlap fabric that is at least one inch wider than the width and one inch longer than the length of the door frames.
- Staple the burlap fabric to one side of the door using an upholstery stapler and the corresponding staples. Make sure to hold and pull the fabric taut as you staple it to the frame.
- Cut any excess fabric leaving about 1/2″ of fabric around the frame.
- Apply tacky glue to the raw edges of the fabric using your finger to spread it as necessary. The glue will keep the fabric from unraveling overtime. Let the glue dry for a few hours.
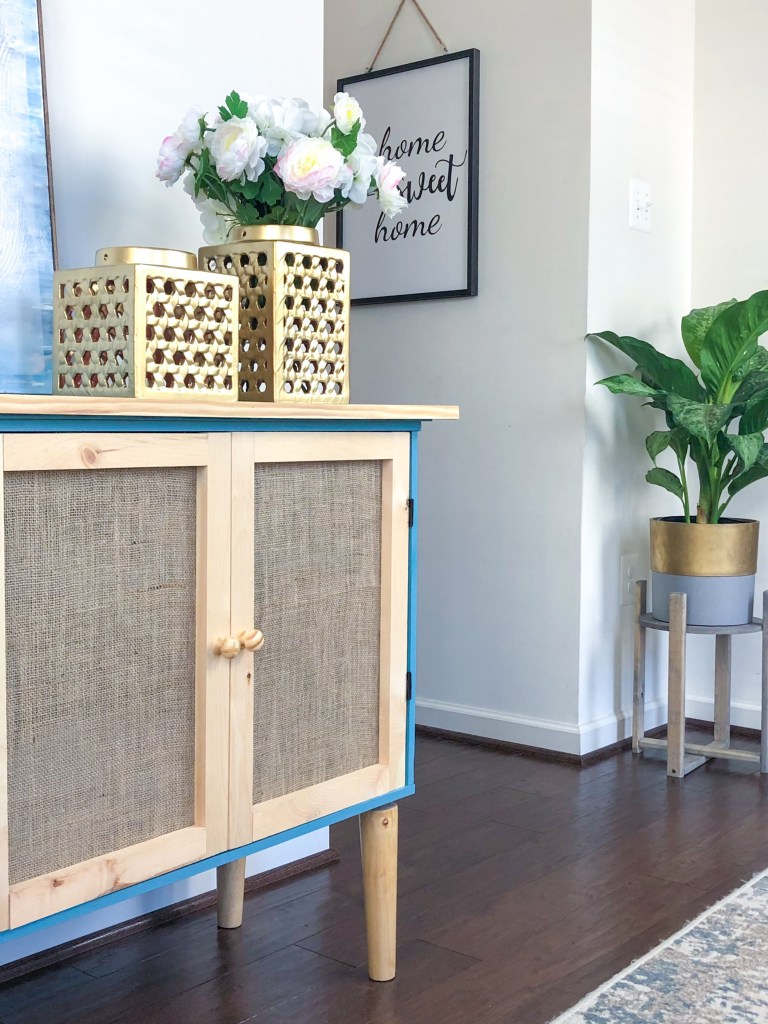
- Determine where you want to attach door knobs or handles and install them.
- Install door hinges on the doors first and then attach the door to the console.
- Repeat step #3 – 11 for the other door frames.
- Enjoy your newly updated console!
Leave me a comment. Would you try this project? What do you like best about this DIY transformation project?
SUBSCRIBE for Blog Updates
Latest from the Blog

7 Tips and Tricks Beginner Woodworkers Should Know
Get to know the 7 important tips and tools that all beginner woodworkers need to know to start building your own furniture!

DIY Accent Wall – Master Bedroom Update
Update your boring master bedroom today by creating an accent wall. See how I created this simple, blue accent wall in my bedroom.

How to build a Workbench in 6 easy steps!
How to build a workbench: build a simple workbench in 6 easy steps. How to build a large workbench for home shop or garage.
Follow me on Instagram
See What I’m Pinning
Recent Posts


Leave a Reply