Hey there! Join me on Instagram so you won’t miss out on all the project sneak peeks!
I’ve wanted a workbench for a while but setting time aside to build one has been challenging. I’m starting to do more woodworking projects, and using a workbench has become a necessity. My initial plan was to build a 72″ x 36″ workbench, but I quickly dialed back on the size when I saw how big the MDF top was as it was being cut at my local lumber yard.
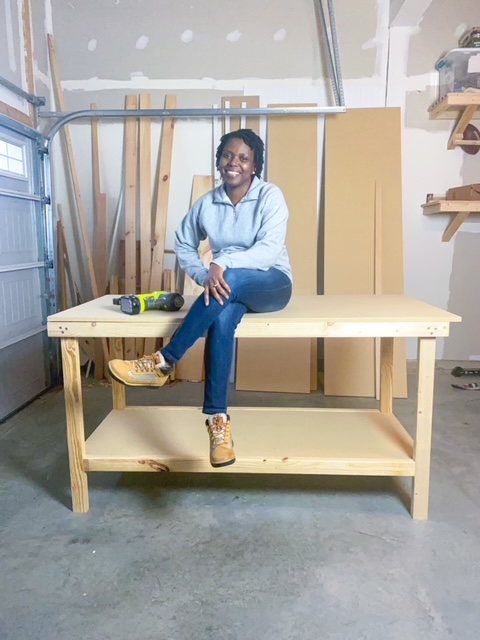
I ended up building a 68″ x 32″ workbench, although the frame was 66″ x 30″. Having a bigger bench top compared to the frame was intentional because I wanted a 2” edge on two sides of the bench for easy clamping.
Continue below for the cut list and tools I used.
DIY Workbench Supply List
| Materials | Tools |
| 10 – 2 x 3 x 8” (Framing lumber) | Power drill (including drill bits) |
| 2 – 4 x 8 sheets of ¾” thick MDF | Kreg Jig K4 Master system |
| 12 – 2.5” flat Philips wood screw | Brad nailer (or a good ole hammer) |
| 28 – 2 ¼ pocket hole screws | Miter saw |
| 2” Pneumatic nails or finishing nails |
Cut list
| Part | Cuts | Quantity | Description |
| Top frame | 66” | 2 | 2×3 Framing lumber |
| 27” | 3 | 2×3 Framing lumber | |
| Legs | 35 ¼ | 4 | 2×3 Framing lumber |
| Leg support | 24” | 3 | 2×3 Framing lumber |
| 58 ¼ | 2 | 2×3 Framing lumber | |
| Workbench top | 68” x 32” | 1 | ¾ MDF |
| Shelf | 63 ¼ x 24” | 1 | ¾ MDF |
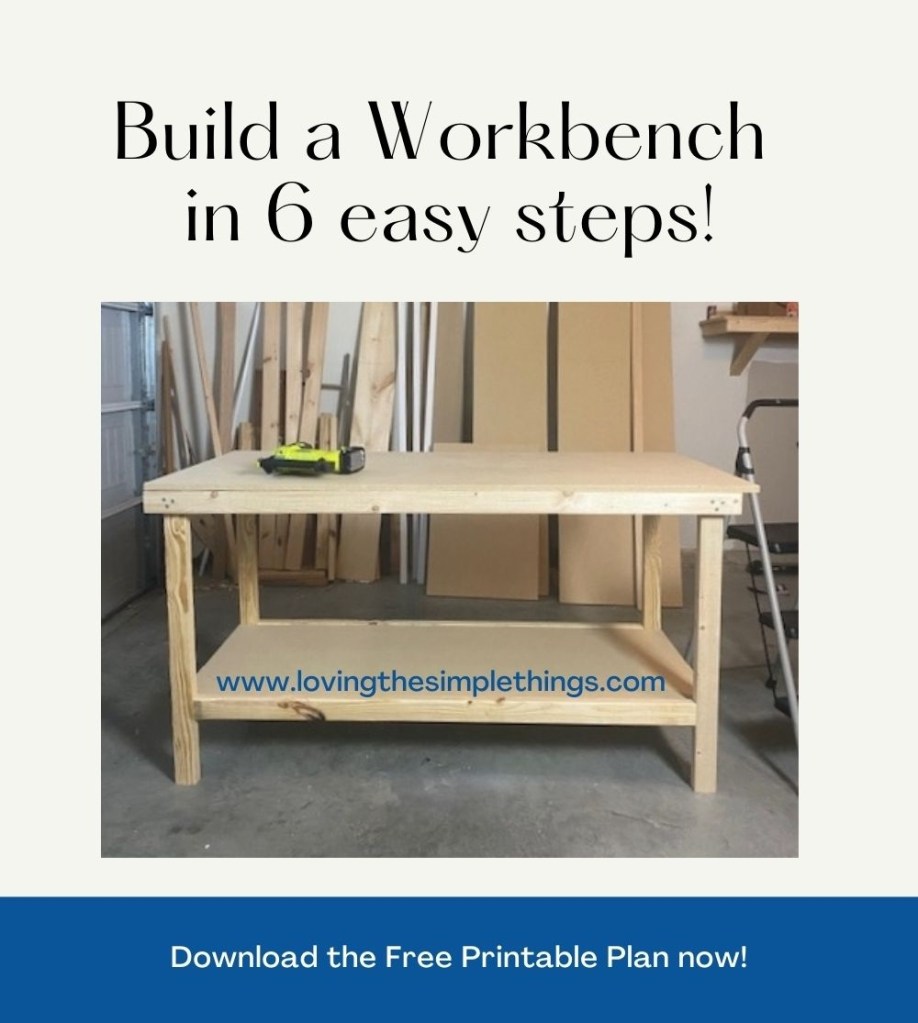
Build a simple DIY Workbench in 6 easy steps!
Step 1: Cut 2 x 3s according to the cut list
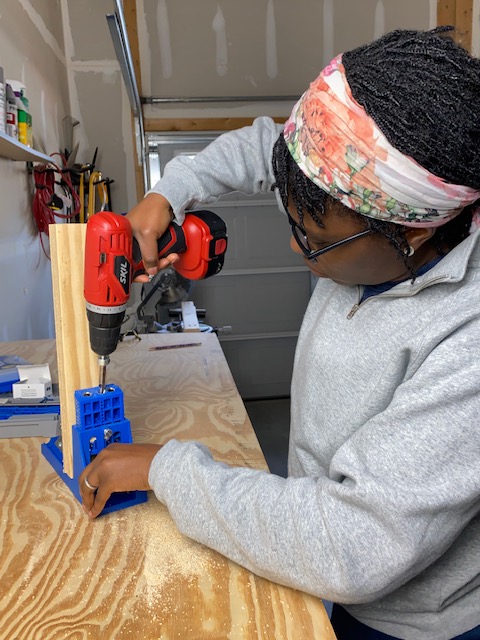
Step 2: Use a Kreg Jig system to drill pocket holes into all the 2 x 3 cuts, except the legs
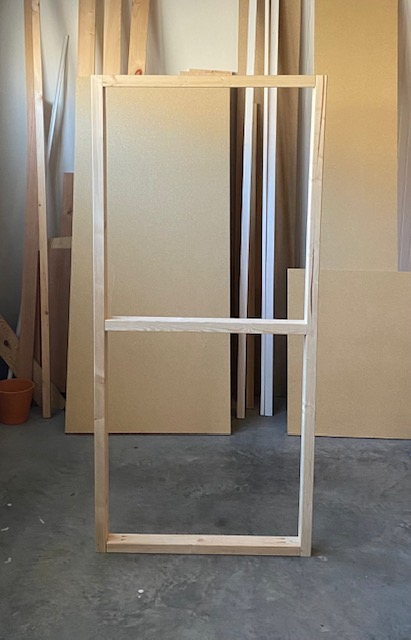
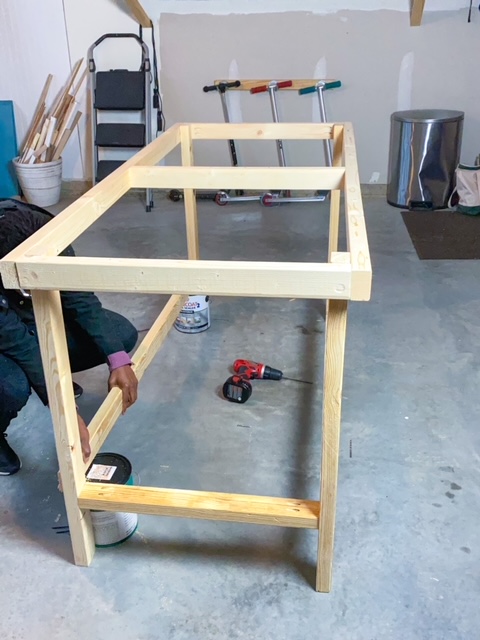
Step 3: Build the top frame of the workbench.
Step 4: Attach the legs using wood screws. It’s helpful to use a clamp to hold corners together and pre-drill for this step.
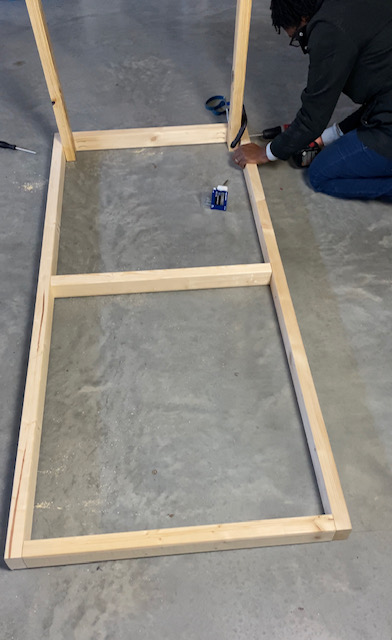
Step 5: Attach leg supports (also serves at the bottom shelf frame)
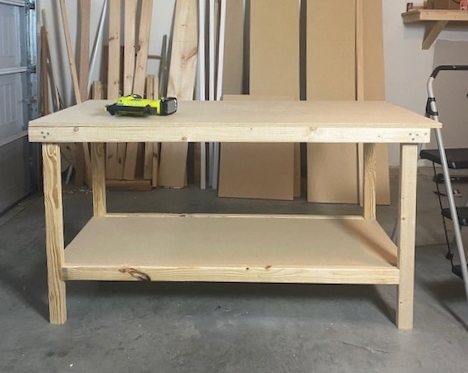
Step 6: Install MDF top and shelf and secure them with brad nails. The shelves were installed at 9″ from the bottom of each leg.
What about casters?
I initially bought a 4” caster to install on the legs of this workbench, but upon further research, I plan to purchase the Rockler casters instead, since they allow for better stability, in addition to added mobility.
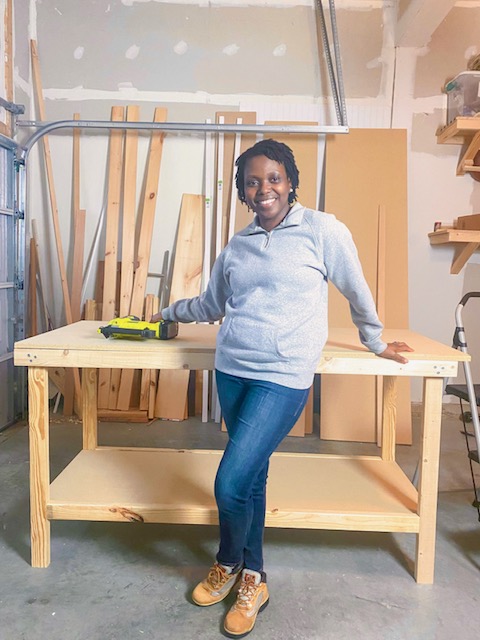
Here is the outcome of the workbench build. What do you think?
- I used 2 ½ pocket holes and 2 ½ pocket hole screws because the joined 2x3s and they were 1.5” thick. Read your Kreg Jig instructions and choose the appropriate settings based on the thickness of your lumber boards
- Have your MDF boards cut at the lumber yard. I had to adjust the width of my MDF top at home using my table saw, and it was a struggle because it is so heavy!
- Feel free to customize your bench!
DIY Workbench Tips and Tricks:
Join the LTST mailing list to get all the blog updates!
LATEST POSTS
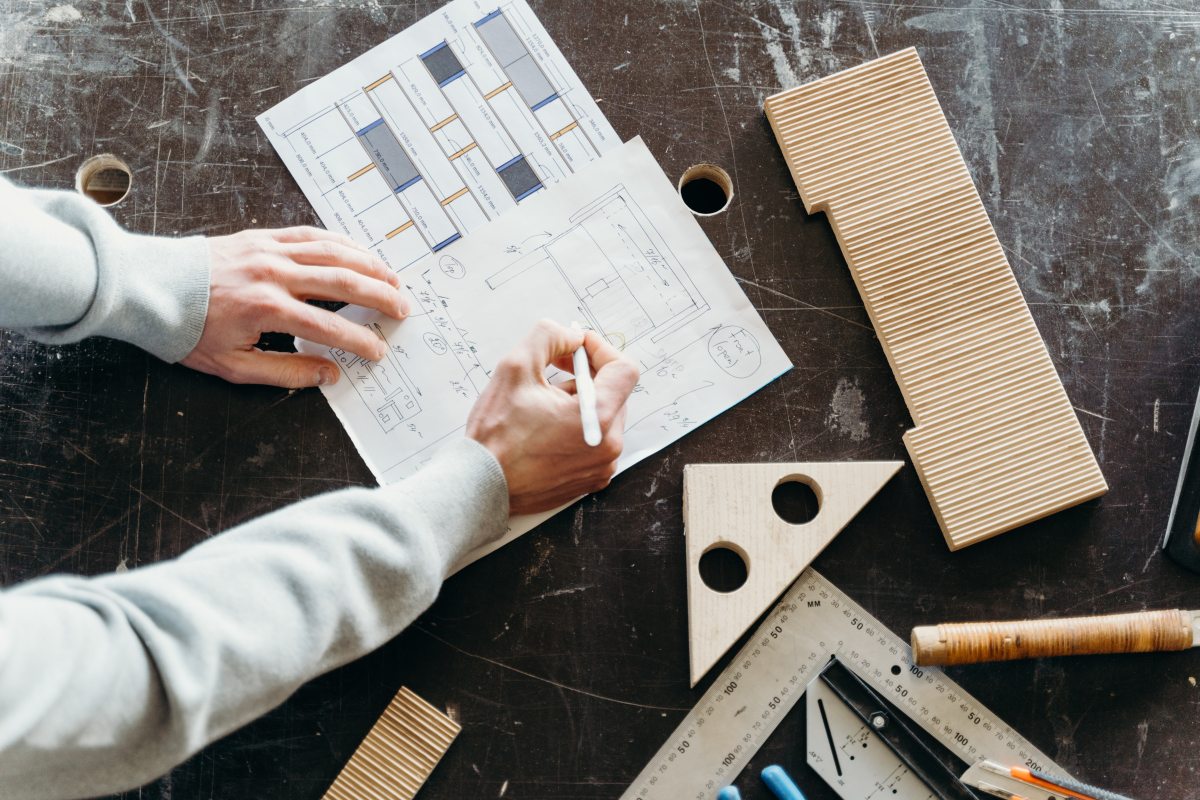
7 Tips and Tricks Beginner Woodworkers Should Know
Get to know the 7 important tips and tools that all beginner woodworkers need to know to start building your own furniture!
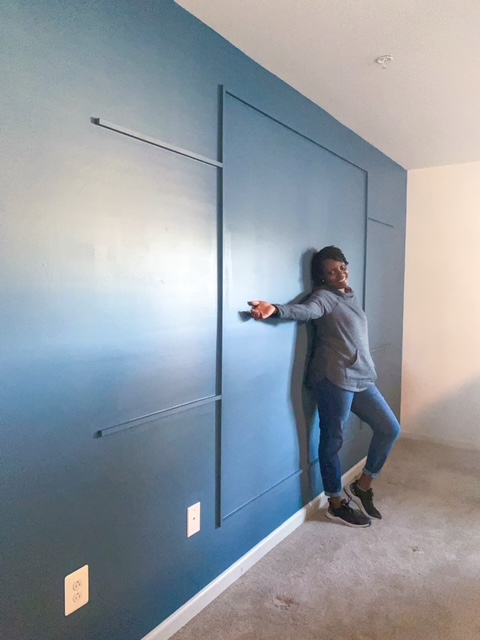
DIY Accent Wall – Master Bedroom Update
Update your boring master bedroom today by creating an accent wall. See how I created this simple, blue accent wall in my bedroom.

101 Ways to Decorate your Home on a Budget
Are you looking for ways to decorate your home without breaking the bank? Check out this long list of ideas on how to update your home on a budget!
LTST Interior Decorating Consulting Services
Do you want to transform your home into a space you would love to enjoy and spend time in? Contact us at LTST Interiors.
Something went wrong. Please refresh the page and/or try again.


Leave a Reply