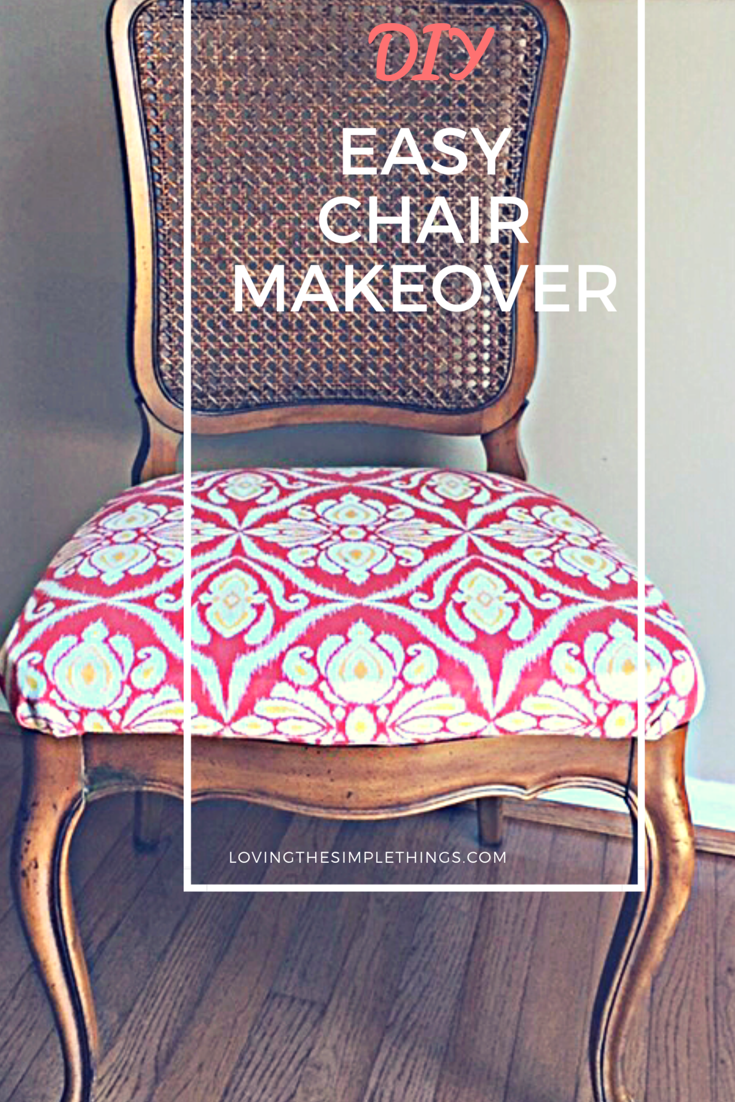
Have you ever wished you could reupholster your furniture in a few easy steps without breaking the bank? Today I will be sharing my DIY vintage chair makeover project that required re-upholstery and what I did to bypass the detailed and tedious process of re-upholstering a cushioned furniture.
By the way, I forgot to take before photos of the chair because I was too excited to get my hands on it and make it over. However, I’ll take a stab at describing its before condition.
This chair was a light oak color and the cushion was covered with a large print floral (sage, brown) fabric. From the looks of things, the chair had been previously reupholstered and my plan was to reupholster it again. I was going to throw the chair a reupholster-reupholster party. My plan was to revive it with a fresh wood stain and a contemporary fabric for the cushion part of it. Mind you it only cost me $6.99 :).
The materials I used include:
- Heavy/Medium Home Decor Fabric
- Wood Stain
- 3M Sand Paper/Sand Foam
- Paper Towels
- Small nails/Utility Staples
- Hammer/Staple gun
- Screwdriver
- Paint brush (to apply wood stain)
So you ask, what is the trick I used to bypass the tedious re-upholstery process?
After unscrewing the cushion from the chair, I placed it in a 20” x 20” inch pillow cover that had been previously removed from a throw pillow. It was the best casing for the cushion! (I did not bother to remove the old fabric or replace the foam or plywood or cardboard or any other parts from the cushion.) On the underside of the cushion, I then pulled the fabric in several directions, starting the middle, folding it flat and nailing it into place to form a smooth finished look.


Next, I took the chair frame outside to sand. I sanded it with a 3M sandpaper, wiped it down several times with a damp cloth and let it dry. Then I stained it with some Red Oak Stain, which I previously used in my DIY Bookshelf Nightstand Project. I applied several coats of stain until I was satisfied with the results. I attached the cushion back onto the frame and tada!!!
 I really enjoyed working on this project and you can too! It makes a great accent chair in my living room. I’m satisfied just walking past it. It brings me joy, hehe.
Feel free to leave a comment or questions for me.
Happy DIYing,


Like this post? Share and follow me on Pinterest!
Other Posts You Will Appreciate!


Leave a Reply